Carolyn wants to be a mummy for Halloween. However, we went looking for a mummy costume and were really disappointed in what we saw. They either looked goofy or, at one store we visited we were horrified to find an inappropriately “adult” mummy targeted towards 4-10 year old girls. Yes. A mummy with a bare midriff. Not. Happening.
DIY mummy it is, then. I drew some inspiration from this most amazing mummy costume tutorial, but I had already started by the time I found it so it’s probably not going to be nearly as awesome as that one is!

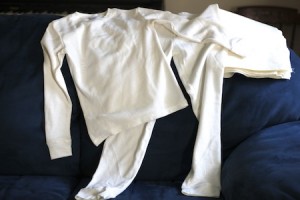
That’s a set of $10 long underwear (a size or two big to fit over street clothes) and 2 yards of muslin (really nice muslin bought at a quilt shop, so another $10 – a bit of a splurge). A sheet would have worked as well, but I don’t have any unused white sheets at the moment.

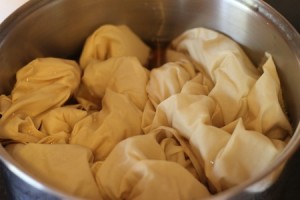
I used a dozen tea bags, some hot water, and my spaghetti pot to soak the muslin for a half hour or so. Can’t have things looking too new, obviously! Then I squeezed out the fabric, ran it under some water until it ran mostly clear, and dried it for a bit.

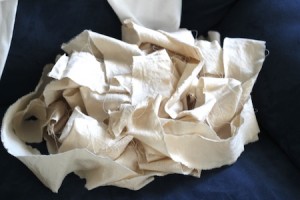
I cut little snips into the fabric all along the selvedge edge, a couple of inches apart. (I didn’t measure, just tried to make it look about bandage width.) And then the easy and very satisfying bit: riiiiiiip!

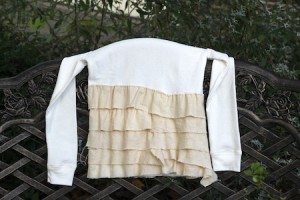
You could probably hot-glue the strips on, but I decided it would be faster to just set my sewing machine to a long-ish stitch length and stitch them on. The first strip I sewed on had to be picked off – I forgot to stretch the knit a bit so that it would have some give after the muslin was stitched on. But then I was merrily on my way. So far, so good!
