We went to Ithaca today to celebrate my cousin’s college graduation. It’s unfortunate that this side of my family is a bit scattered across the state, so we don’t tend to gather as often as we’d all like. But everyone was there today, and we all enjoyed catching up!
Say, "cheese!"
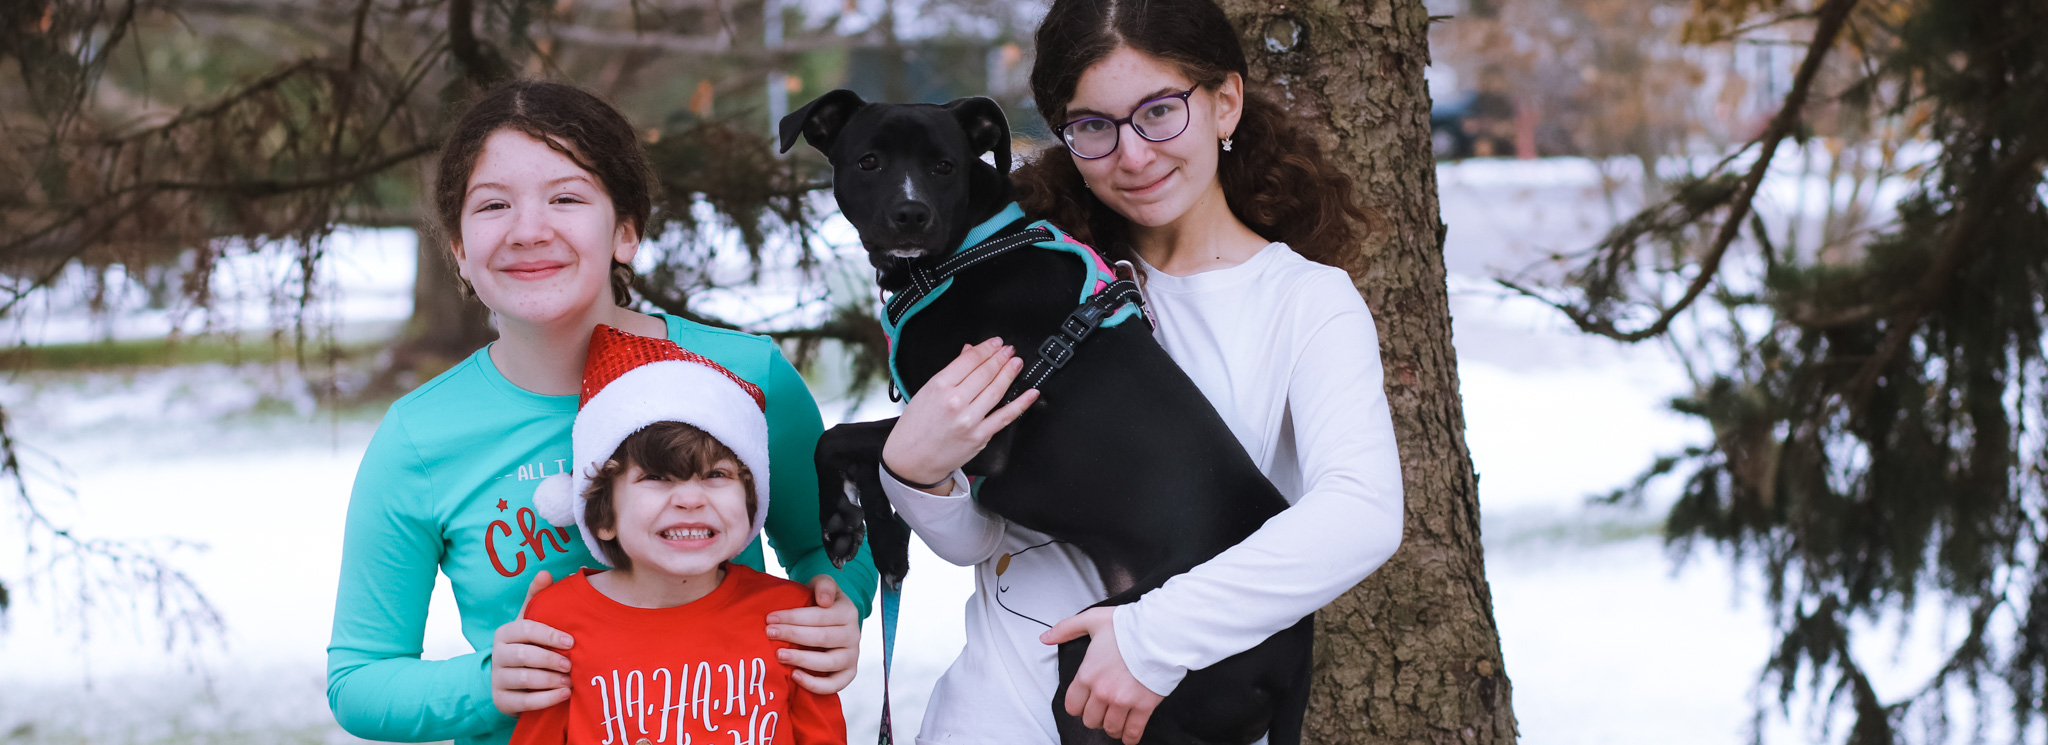
More pictures from the day are on flickr, including this great one my dad took of me and Anna:
Our last “Red, White & Blue week” activity had two purposes. The goal was to wind up with some homemade bean bags to use for an activity during Anna’s birthday party. But as long as I was opening up some bags of dried navy beans, I thought we’d try the “sensory box” idea I’ve spotted on various sites.
There are little toys hiding in the beans!
So, a box. (Or in this case, a toy bin that I emptied for the purpose. I’d consider getting a dedicated box with a lid for this if I do this activity again, but it turned out a little messier than planned and involved a few bickering sessions between the girls, so…I don’t know.) You fill it with beans, and then hide a bunch of little objects in there.
Scooping and digging for buried treasures.Look! Little frogs and lizards!
I put the filled box on top of a cookie sheet, handed them some measuring cups, and let them do their own thing. There was a lot of scooping, more spilling than I expected, a fair number of arguments over who could hold the little toys they found, and still a fair amount of time-consuming fun.
Lots of little random goodies.
Then I got out the fabric. This bit was mostly me with kids observing, although Carolyn did help with the parts that didn’t involve sharp blades or sewing machines. I like to make double-layer bean bags, as follows:
For each bag, cut two 4″ squares of muslin. Place squares wrong sides together. Sew three sides with a 1/4″ seam. Fill with 1/3 – 1/2 cup of beans (depending on how firm you want the bags) and sew the final side.
Squares all cut and ready to sew.
Cut two 4 1/2″ squares of the outer fabric. Place squares right sides together. Sew around with a 1/4″ seam, leaving the center 3″ on one side open for turning and stuffing. Turn right side out and poke corners out as best you can – clipping the corners diagonally will help with this. If you are not lazy, at this point, you could press the squares. I don’t.
Outer square ready to turn.
Stuff the inner square with the beans into the outer square. Fold the open edges in 1/4″, then top-stitch around the square about 1/8″ from the edge, being sure to close that open edge completely.
Finished bean bags.
Commence juggling! Or bean bag tossing. Or whatever it is you can think to do with bean bags…as long as it doesn’t involve lobbing it at your sister’s head and causing her to scream with all the drama one would expect out of someone who had been hit with a brick instead of a bag of beans. Sigh.
We’ve already done layered berry and yogurt parfaits this week, and I wanted to come up with another “themed” snack for today. Red, white & blue skewers!
Assemble your ingredients...Slice the bananas.Cut up the strawberries.Stick the fruit on a stick (watch that pointy end) and enjoy!
This is a great “kids in the kitchen” snack – part craft, part eating! (And even, if you ask them to follow a pattern skewering the types of fruit, somewhat educational in an early math sort of way. Shhh. Don’t tell.)
The strawberry playdough was such a hit last week, I thought I’d add blue playdough to the mix. The “Ice Blue Lemonade” Kool-Aid packet, however, didn’t really make blue. It really turned out more turquoise than blue.
Blue? Not exactly.
Note that this didn’t stop the girls from enjoying playing with it!
Spaghetti and Sundaes for All!Piles of playdough pasta.A spiky sundae.
And now I’ve had requests for purple, orange, white and yellow to go with their red and blue…ish playdoughs. Maybe I’ll just make a different colored batch every week and get rid of the old mostly dry cans of commercial play-doh! And maybe I’ll find the right flavor of Kool-Aid to actually make blue…
This activity was the first one so far I’ve bought any specific supplies for. I was contemplating red, white & blue pony beads, but could only buy gigantic packages…and let’s face it, how many red, white & blue pony bead necklaces can two small girls make?!? So when I found somewhat smaller packages of red, white & blue buttons, I decided it was time to introduce Carolyn to a needle and thread.
First, assemble your materials.One button at a time!Patriotic string of buttons.
Button necklaces are pretty simple, you just thread the string through two holes of each button and slide them down – they’ll sort of naturally alternate which way they face off the string to make a reversible strand. As simple as they are, though, Anna was not quite ready for stringing buttons on her own, so we worked together to make a necklace for her. And I had some magnetic clasps in my stash so the finished products could be (slightly) safer.
One girl in a necklace.Another girl in a necklace.A finished button necklace.
Since I knew Anna wouldn’t be able to string buttons with a needle and thread, I had other plans for her to play with the buttons. I wrote her name on construction paper with glue and had her stick buttons on it.
Buttons on a letter 'A''Anna' in buttons!
Then Carolyn wanted to glue some buttons.
'Carolyn' made out of buttons.
And then we traced some cookie cutters for other shapes to glue buttons onto.
A button heart!
And when all was said and done, we managed to use up almost all of those red, white & blue buttons, but it took them most of the afternoon. That made buying buttons totally worth it!
I was very disappointed when the Naked Pizza place near us closed – most regular pizza gives me terrible heartburn, but this place had some secret crust recipe that somehow didn’t bother me, plus it was pretty Weight Watchers friendly. But they closed, abruptly and without explanation.
So I’ve been on a quest, to make a homemade pizza crust that’s just as tasty, doesn’t use up all my points for the day, and doesn’t keep me up all night.
I think I finally got it right. It’s not the same, but it’s really tasty, somewhat healthy-ish, and super easy. I had a hard time finding yeast-free pizza dough recipes, so I thought I’d share. The best bit is, if you have the various flours on hand already and keep a couple of small containers of plain yogurt in the fridge, you can have pizza on a weeknight in pretty much the same amount of time it would take to have one delivered.
Multi-Grain, Yeast-Free Pizza Dough:

1 cup all-purpose flour
1 cup whole wheat pastry flour
3 Tbsp. flax seed meal
3 Tbsp. oat flour
2 Tbsp. corn meal (+ extra for rolling)
2 Tbsp. wheat germ
2 Tbsp. spelt flour
1/2 tsp. sugar
1/2 tsp. salt
1/2 tsp. pizza seasoning blend
2 tsp. baking powder
12 oz. plain low-fat yogurt
2 Tbsp. olive oil

Preheat oven to 400°F.
(If you're baking on a stone, put it in the oven to preheat.)
1. Combine all dry ingredients in a large bowl.  Mix well.
2. In a separate bowl, mix together the yogurt and oil.
3. Add yogurt and oil mixture to the dry ingredients;
   mix until a soft dough forms.
4. Turn out onto a floured board and knead dough for
   1-2 minutes.  If necessary, add a little flour.
5. Dust board with a little more flour and some cornmeal.
   Roll dough into a circle.  This will make a large pizza.
   Our stone is not that big!  So, I use about 1/3 of the
   dough to make an 8-ish inch pizza for the kids, then the
   remaining 2/3 to make a 12-ish inch pizza for the adults.
6. Top with desired sauce and toppings, and bake for
   12-18 minutes (depending on how thin you rolled it)
   until the crust is slightly brown around the edges
   and the cheese is melted.
This is a hit with both of my oddly picky eaters, who, for whatever reason, will not eat “normal” pizza. I must have the only two children on the planet who will not eat cheese pizza at a party.
I am so proud of Carolyn! She had her second piano lesson today, and it’s really obvious that she’s been practicing daily (mostly without prompting). Her piano teacher was pretty pleased with her progress.
This week the theme is: Red, White & Blue. Of course!
We started out this morning picking black caps. My parents had a wild bunch start growing near their deck, and every year about this time they start getting ripe. They have to pack the most sweetness in the smallest berry space – they’re tiny, but so, so yummy. (Not quite blue. But they do stain red when squished!)
Watch those prickers!A pint of pure deliciousness.
Then we spent the afternoon at my grandparents’ house. My great uncle lives next door and has a retired race horse living on his farm. Carolyn and Anna and their cousins Benny and Ryan wanted to go feed Brownie, so we walked over to the pasture and fed Brownie apples, carrots and many handfuls of tall grass. Poor Brownie probably had a stomachache after eating all that grass!
Feeding BrownieKids on the farm
We decided Anna was not going to make it through a late night of fireworks, so Denis took Carolyn to see them while I’m at home with a sleeping kid and a neurotic dog who feels the need to growl and bark at every pop of a firecracker outside. It’s been a long evening…
We made a quick trip this weekend to NYC. Our first trip with Anna out of diapers…let’s just say, I would be happy to never see the inside of a rest stop bathroom again! The purpose of our visit? To surprise Poppy for his birthday, of course!
Happy Birthday, Poppy!
It was fun to get all the cousins together again – it happens so rarely, everyone seems to grow many inches in between visits. (Shhh, don’t tell anyone – I think my eldest niece is very nearly as tall as I am…) The girls had so much fun playing with their cousins, and were very sad to have to leave.
Giggles and Grins
Now we’re home again, with two rather grumpy children who have sat in the car for far too many hours in the past three days. Hopefully everyone will get a reasonable amount of sleep tonight!
For our final strawberry week activity, we decorated the goody bags for Anna’s upcoming birthday party. I wanted to stamp strawberries on these neon green bags I found in Target’s dollar spot, but I couldn’t find a simple strawberry rubber stamp. I ran across this post that used potatoes to make stamps, which seemed pretty easy (even if I couldn’t use cookie cutters to make the stamps). This part needs an adult, a steady hand, and a good sharp paring knife:
Potato stamps, carved and ready to go.
There aren’t any action shots of the stamping, since this needed to be a very hands-on activity for me. Basically, we dipped the potatoes in a paper plate with some paint on it to “ink” them:
Inked stamps - a little easier to see!
Then we stamped the bags. (If you try this at home, be sure to put some folded up newspaper in there to keep the paint from soaking through to the other side of the bag!) It was hard to line up the leaves with the tops of the strawberries, so they’re all a little…unique:
Stamped bag, phase 1.
Finally, a toothpick dipped in yellow paint to add some seeds:
Lots of little yellow dots.Stamped Bag, Phase 2.
And we now have a pile of inexpensive, homemade, (hopefully) reusable goody bags:
Oh, goody!
Of course, with the paints already out, the girls wanted to paint some more things. So we added a number of other colors to the paper plate and broke out some paper and paint brushes.
Concentrating hard!Little Artist
But the temptation of paint…oh, so tempting to squish little fingers in…
Little fingers in the paint...
Luckily, we had nothing else planned, so we could go straight from painting to the bathtub!
Messy little jazz hands.Slightly bigger (and cleaner) painted jazz hands.
The plate itself is a little work of art, or at least evidence of a thoroughly messy and fun painting session!