For our final strawberry week activity, we decorated the goody bags for Anna’s upcoming birthday party. I wanted to stamp strawberries on these neon green bags I found in Target’s dollar spot, but I couldn’t find a simple strawberry rubber stamp. I ran across this post that used potatoes to make stamps, which seemed pretty easy (even if I couldn’t use cookie cutters to make the stamps). This part needs an adult, a steady hand, and a good sharp paring knife:

There aren’t any action shots of the stamping, since this needed to be a very hands-on activity for me. Basically, we dipped the potatoes in a paper plate with some paint on it to “ink” them:
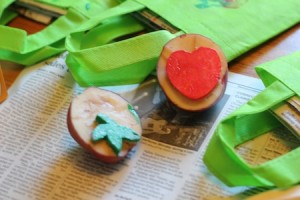
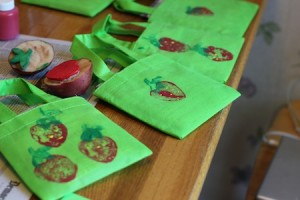
Then we stamped the bags. (If you try this at home, be sure to put some folded up newspaper in there to keep the paint from soaking through to the other side of the bag!) It was hard to line up the leaves with the tops of the strawberries, so they’re all a little…unique:
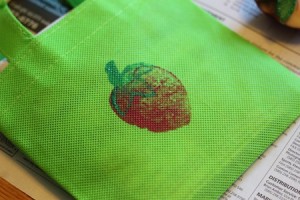
Finally, a toothpick dipped in yellow paint to add some seeds:
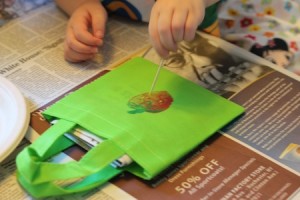
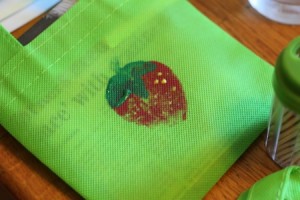
And we now have a pile of inexpensive, homemade, (hopefully) reusable goody bags:
Of course, with the paints already out, the girls wanted to paint some more things. So we added a number of other colors to the paper plate and broke out some paper and paint brushes.
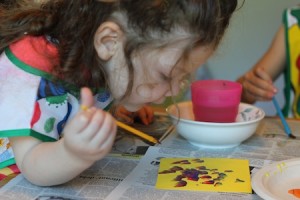
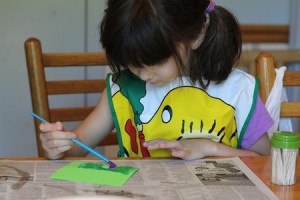
But the temptation of paint…oh, so tempting to squish little fingers in…
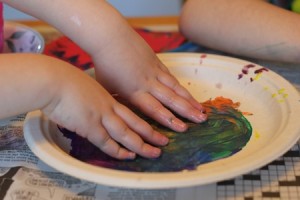
Luckily, we had nothing else planned, so we could go straight from painting to the bathtub!


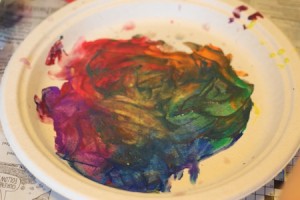
The plate itself is a little work of art, or at least evidence of a thoroughly messy and fun painting session!
