Our last “Red, White & Blue week” activity had two purposes. The goal was to wind up with some homemade bean bags to use for an activity during Anna’s birthday party. But as long as I was opening up some bags of dried navy beans, I thought we’d try the “sensory box” idea I’ve spotted on various sites.

So, a box. (Or in this case, a toy bin that I emptied for the purpose. I’d consider getting a dedicated box with a lid for this if I do this activity again, but it turned out a little messier than planned and involved a few bickering sessions between the girls, so…I don’t know.) You fill it with beans, and then hide a bunch of little objects in there.
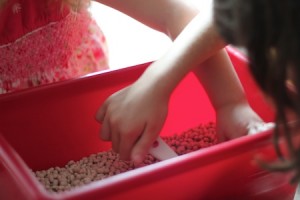
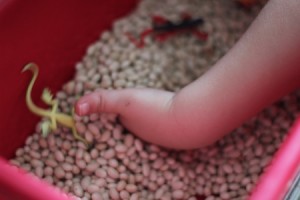
I put the filled box on top of a cookie sheet, handed them some measuring cups, and let them do their own thing. There was a lot of scooping, more spilling than I expected, a fair number of arguments over who could hold the little toys they found, and still a fair amount of time-consuming fun.
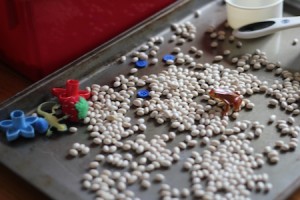
Then I got out the fabric. This bit was mostly me with kids observing, although Carolyn did help with the parts that didn’t involve sharp blades or sewing machines. I like to make double-layer bean bags, as follows:
For each bag, cut two 4″ squares of muslin. Place squares wrong sides together. Sew three sides with a 1/4″ seam. Fill with 1/3 – 1/2 cup of beans (depending on how firm you want the bags) and sew the final side.
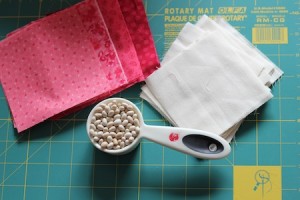
Cut two 4 1/2″ squares of the outer fabric. Place squares right sides together. Sew around with a 1/4″ seam, leaving the center 3″ on one side open for turning and stuffing. Turn right side out and poke corners out as best you can – clipping the corners diagonally will help with this. If you are not lazy, at this point, you could press the squares. I don’t.
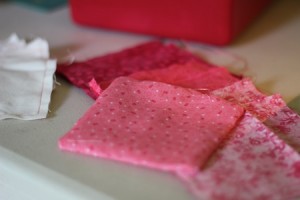
Stuff the inner square with the beans into the outer square. Fold the open edges in 1/4″, then top-stitch around the square about 1/8″ from the edge, being sure to close that open edge completely.
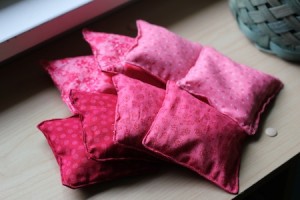
Commence juggling! Or bean bag tossing. Or whatever it is you can think to do with bean bags…as long as it doesn’t involve lobbing it at your sister’s head and causing her to scream with all the drama one would expect out of someone who had been hit with a brick instead of a bag of beans. Sigh.
