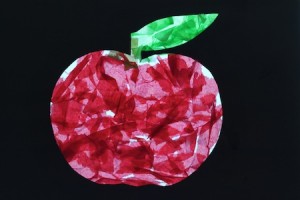
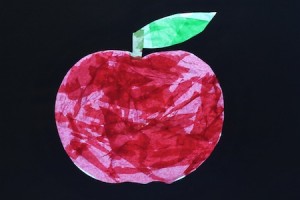
This week, in order to get us in the back-to-school spirit for next week, the theme is “apples”!
There are lots of fun projects to do with actual real edible apples, but it was too windy to go apple picking yesterday (we were worried we might wind up with apples falling on our heads, and we already know about gravity, thank you very much.) So, since the current apple population in the house is rather dismal, we did a paper-y craft project instead today. (We used the template, and loosely followed some of the directions, from this site.)
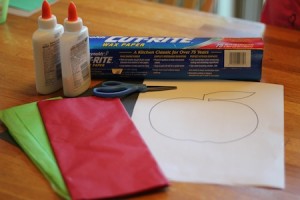
First we taped our template to the back of a piece of wax paper, then taped that down to the table.
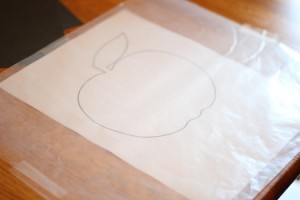
I had the girls squirt glue all around the inside of the apple shape, then brush the glue around to fill it all in, going over the edges a bit.
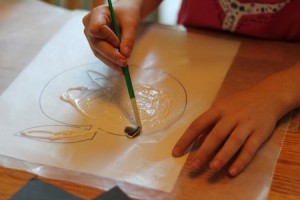
Then they tore up bits of red tissue paper and pressed them into the glue all around the apple. A few pieces of green for the leaf, and a bit of gold for the stem completed the tissue paper piecing.
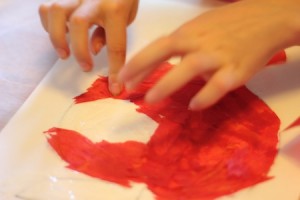
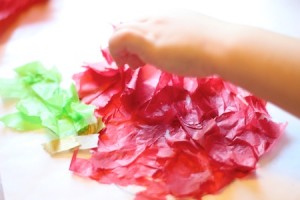
When they were finished with the tissue paper, I cut out the apple from the template paper, and traced it – right side facing down – on a couple of pieces of black construction paper.
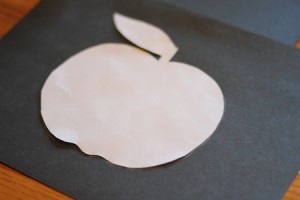
The girls had wandered off to play by this point, so I finished cutting the traced apple out of the middle of the paper, then called them back to glue the frames on their apples.
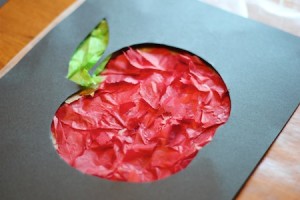
They look really pretty taped to a window!
