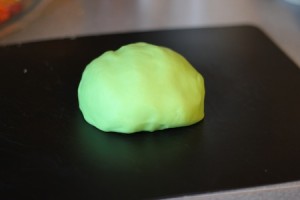
Yesterday we made some green playdough using our usual recipe and one of the lemon-lime Kool-Aid packets we found.
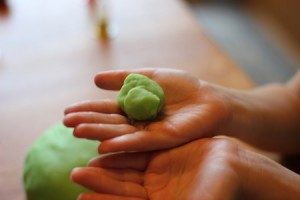
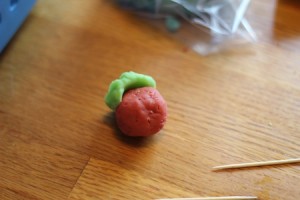
Now the strawberries can have leaves!
Today’s project is a good example of why you need to flexible when planning kids’ crafts. The plan was tissue paper flowers:
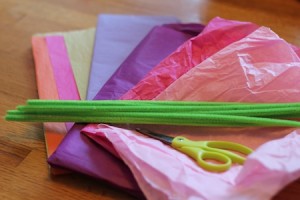
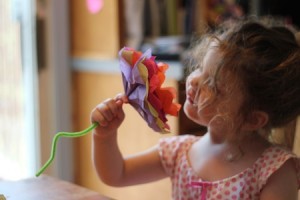
I thought they would be pretty easy, and sort of an instant-gratification thing. But they were completely beyond Anna’s abilities, and Carolyn didn’t like how hers turned out compared the ones I made to demonstrate what we were doing.
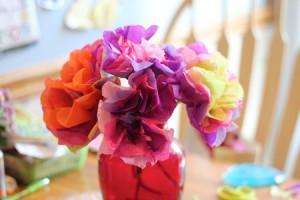
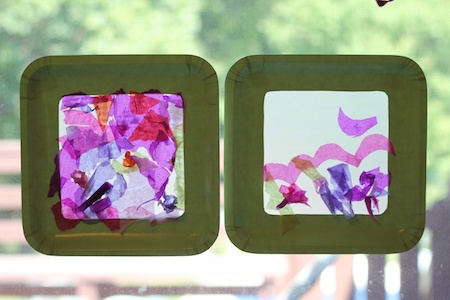
So, now I had a bunch of cut-up tissue paper, frustrated kids, and some time to fill. Luckily, I also had green paper plates left from Anna’s birthday party, wax paper, and tape. Oh, and glue! I cut out the middle of paper plates, cut a square of wax paper, taped it to the back of the plates, and let them glue tissue paper all over the wax paper.
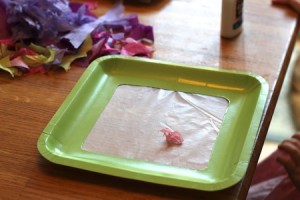
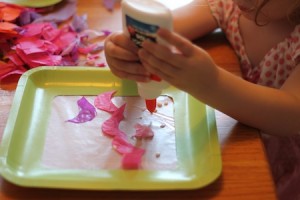
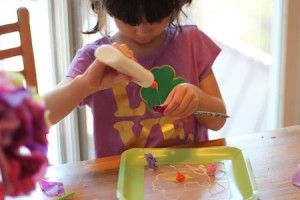
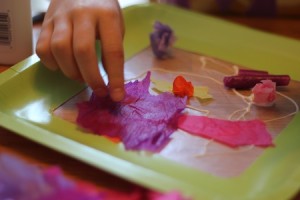
And now we have pretty tissue paper flower suncatchers!
Our birdhouses, according to Anna, needed birdies. So I bought a big bag of assorted pompoms and pulled out a few other supplies:

A little glue here, a little cutting there…

…and we had fuzzy little googly-eyed birds!

And then we made some name caterpillars because gluing pompoms is kind of addictive.


After that, the girls went to town with glue, pompoms, googly eyes and construction paper.


I think the message I need to take away from today’s project is that I need to go hit the back-to-school sales to stock up on more glue. The girls love glue almost as much as paint. Especially if it involves googly eyes!
This week’s theme is “In the Garden”. I spotted these cute little wooden birdhouses (I keep wanting to call them “dollhouses”!) at JoAnn’s for $1 apiece the other day and thought it might be fun to paint them.
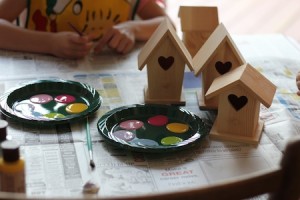
Conveniently enough, they were located right next to a display of Delta Soy Paint. I let the girls each pick out a few colors, so we ended up with Pink Carnation, Pink Hibiscus, Sunflower, Kiwi, Blue Sky and Wisteria. Even the paint colors fit in with the theme! (Although maybe not so much Kiwi. It sure wouldn’t grow in a garden around here…)
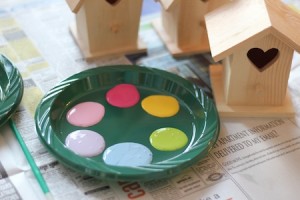
I learned my lesson from the last multi-color painting project and gave each girl their own palette of colors and cup to rinse brushes in so Anna could mix away to her heart’s content and Carolyn could be more particular about her colors.
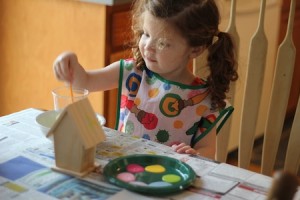
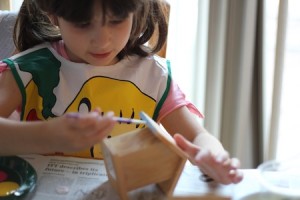

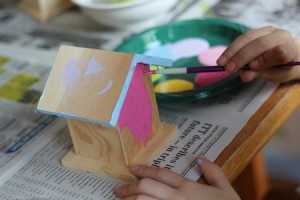
I think they turned out very cute!

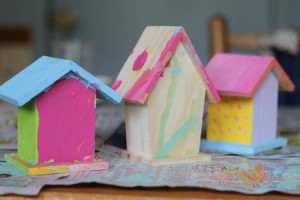
And I already have a glimmer of an idea of how to make birds for them. Need to go check the random craft stash for pompoms…
The one thing that was (slightly) disappointing to Carolyn about the beach we visited the other day was that there were no shells to collect. So, I bought a bag at the craft store. And I found this great recipe for sand dough. Luckily, we have a sandbox full of nice sand waiting to be used in the kitchen. Or something.
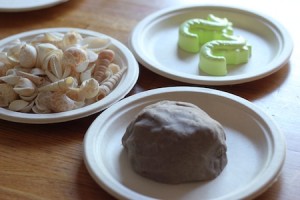
We tried using the seahorse molds, but they wouldn’t release, so we had to clean them out and try again, spraying them with vegetable oil spray first. I have my doubts as to whether these will hold together when dry, but both girls wanted to keep them, so we’ll see!
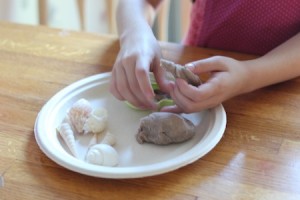

Then they went to town with the shells. Carolyn wanted to make a seashell windchime, but none of the shells had convenient holes and I didn’t quite know how to make holes in them without breaking them. So we settled for making sand dough/sea shell decorative nick-knacks.


And that concludes our beach week! And not a moment too soon…I’m getting tired of cleaning sand off of the kitchen table from all these projects!
Our second craft project of the day was starfish. I cut cardstock into starfish shapes, got some colored sequins, and broke out some more of that leftover colored sand.
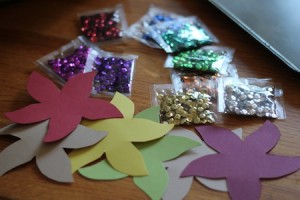
I watered down glue a bit so the girls could paint the starfish with it. Then they sprinkled colored sand on them.
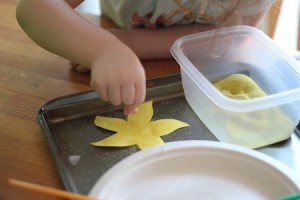
They dabbed on more glue and stuck sequins on.
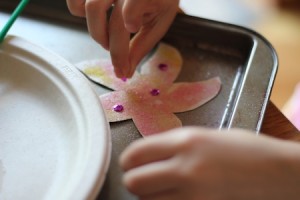
And now we have a pile of sandy, sparkly starfish. These came out pretty cute!
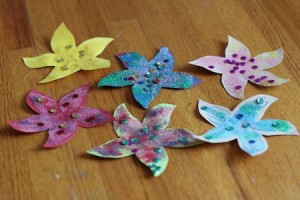
My plan for yesterday’s craft project had to be postponed, so we did two today! The first one was heavily inspired by this fishing game, but at the last minute I discovered that none of the large collection of eyelets I’ve amassed are magnetic, and I inexplicably have no paper clips in the entire house. But I did have googly eyes. (I have my priorities straight, obviously.)
First, the girls painted the fish with our well-used set of watercolor paints.
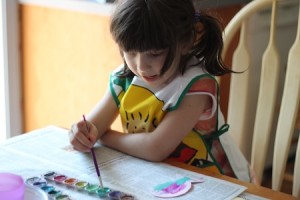
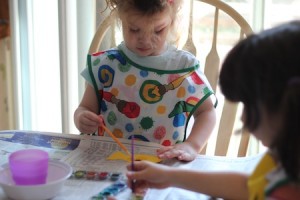
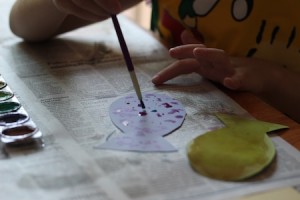
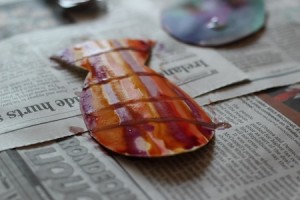
Then they glued on googly eyes. (This was Anna’s favorite part. I need to come up with a project that will use a lot of googly eyes for her.)
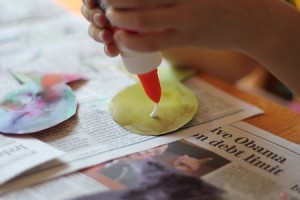
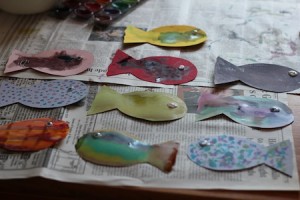
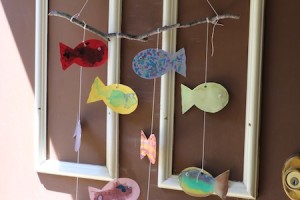
We did our second project to give these a chance to dry, and then I punched holes in the tops of all the fish and Carolyn and I strung them on thread. We tied the strands to a stick we found outside, and, voilá: a giant fish mobile!
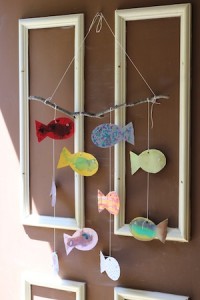
This week, the theme is “On the Beach”. What else is on the beach but lots and lots of sand? We had a lot of colored sand left over from a birthday party a couple of years ago, so I broke that out:
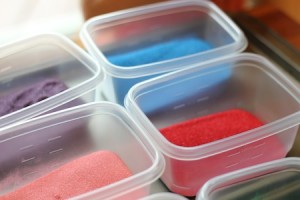
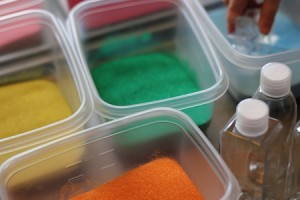
…and let the kids go to town making layered sand bottles.
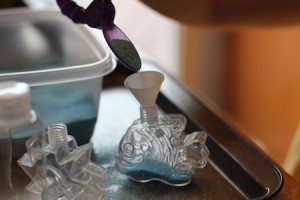
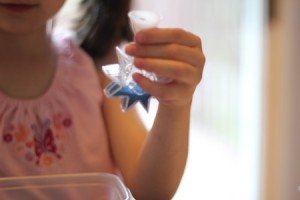
Honestly, I made one too!
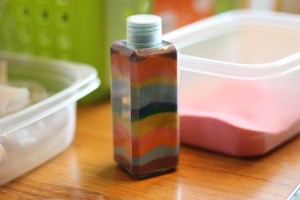
And then we took all of the spilled sand that had accumulated on the cookie sheets (I have lots of old cookie sheets that I keep around for just this type of thing – I promise I don’t bake actual cookies on these sheets!) and sprinkled it on glue we drizzled on construction paper.
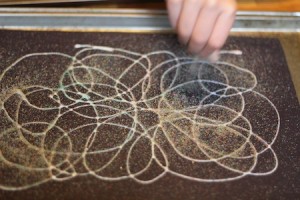
Our last “Red, White & Blue week” activity had two purposes. The goal was to wind up with some homemade bean bags to use for an activity during Anna’s birthday party. But as long as I was opening up some bags of dried navy beans, I thought we’d try the “sensory box” idea I’ve spotted on various sites.
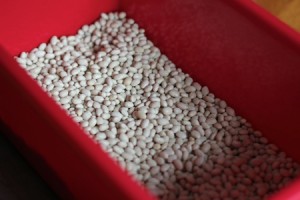
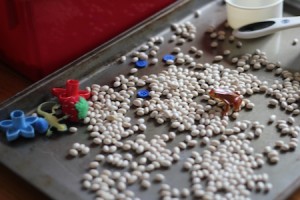
So, a box. (Or in this case, a toy bin that I emptied for the purpose. I’d consider getting a dedicated box with a lid for this if I do this activity again, but it turned out a little messier than planned and involved a few bickering sessions between the girls, so…I don’t know.) You fill it with beans, and then hide a bunch of little objects in there.
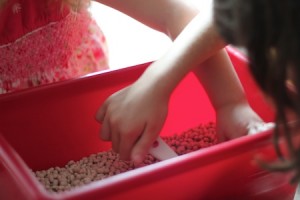
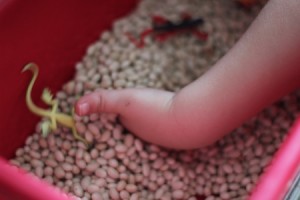
I put the filled box on top of a cookie sheet, handed them some measuring cups, and let them do their own thing. There was a lot of scooping, more spilling than I expected, a fair number of arguments over who could hold the little toys they found, and still a fair amount of time-consuming fun.
Then I got out the fabric. This bit was mostly me with kids observing, although Carolyn did help with the parts that didn’t involve sharp blades or sewing machines. I like to make double-layer bean bags, as follows:
For each bag, cut two 4″ squares of muslin. Place squares wrong sides together. Sew three sides with a 1/4″ seam. Fill with 1/3 – 1/2 cup of beans (depending on how firm you want the bags) and sew the final side.
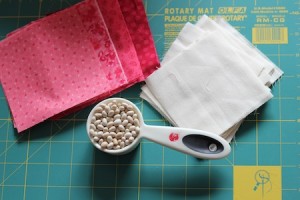
Cut two 4 1/2″ squares of the outer fabric. Place squares right sides together. Sew around with a 1/4″ seam, leaving the center 3″ on one side open for turning and stuffing. Turn right side out and poke corners out as best you can – clipping the corners diagonally will help with this. If you are not lazy, at this point, you could press the squares. I don’t.
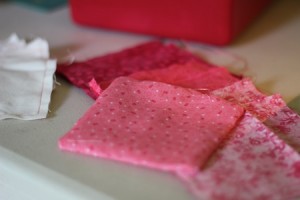
Stuff the inner square with the beans into the outer square. Fold the open edges in 1/4″, then top-stitch around the square about 1/8″ from the edge, being sure to close that open edge completely.
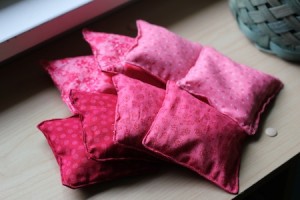
Commence juggling! Or bean bag tossing. Or whatever it is you can think to do with bean bags…as long as it doesn’t involve lobbing it at your sister’s head and causing her to scream with all the drama one would expect out of someone who had been hit with a brick instead of a bag of beans. Sigh.
The strawberry playdough was such a hit last week, I thought I’d add blue playdough to the mix. The “Ice Blue Lemonade” Kool-Aid packet, however, didn’t really make blue. It really turned out more turquoise than blue.

Note that this didn’t stop the girls from enjoying playing with it!


And now I’ve had requests for purple, orange, white and yellow to go with their red and blue…ish playdoughs. Maybe I’ll just make a different colored batch every week and get rid of the old mostly dry cans of commercial play-doh! And maybe I’ll find the right flavor of Kool-Aid to actually make blue…