Red, White & Blue Button Fun

This activity was the first one so far I’ve bought any specific supplies for.  I was contemplating red, white & blue pony beads, but could only buy gigantic packages…and let’s face it, how many red, white & blue pony bead necklaces can two small girls make?!?  So when I found somewhat smaller packages of red, white & blue buttons, I decided it was time to introduce Carolyn to a needle and thread.
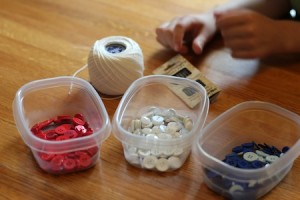
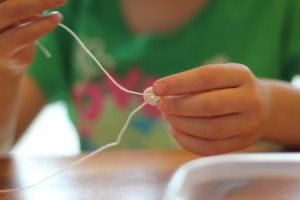
First, assemble your materials.
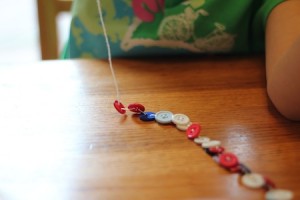
One button at a time!
Patriotic string of buttons.

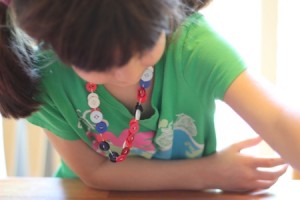
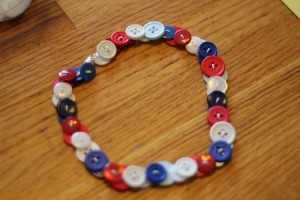
Button necklaces are pretty simple, you just thread the string through two holes of each button and slide them down – they’ll sort of naturally alternate which way they face off the string to make a reversible strand.  As simple as they are, though, Anna was not quite ready for stringing buttons on her own, so we worked together to make a necklace for her.  And I had some magnetic clasps in my stash so the finished products could be (slightly) safer.

One girl in a necklace.
Another girl in a necklace.
A finished button necklace.

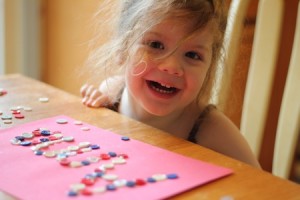
Since I knew Anna wouldn’t be able to string buttons with a needle and thread, I had other plans for her to play with the buttons.  I wrote her name on construction paper with glue and had her stick buttons on it.
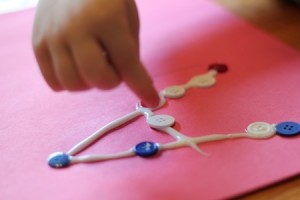
Buttons on a letter 'A'
'Anna' in buttons!

Then Carolyn wanted to glue some buttons.
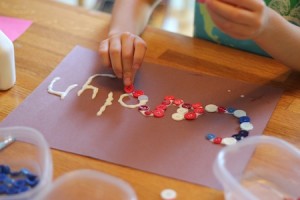
'Carolyn' made out of buttons.

And then we traced some cookie cutters for other shapes to glue buttons onto.
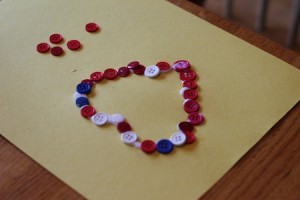
A button heart!

And when all was said and done, we managed to use up almost all of those red, white & blue buttons, but it took them most of the afternoon.  That made buying buttons totally worth it!
Strawberry Potato Stamping

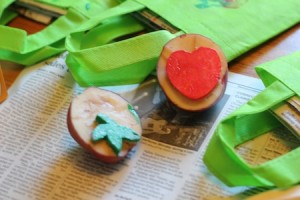
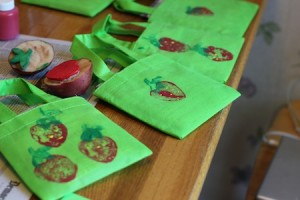
For our final strawberry week activity, we decorated the goody bags for Anna’s upcoming birthday party.  I wanted to stamp strawberries on these neon green bags I found in Target’s dollar spot, but I couldn’t find a simple strawberry rubber stamp.  I ran across this post that used potatoes to make stamps, which seemed pretty easy (even if I couldn’t use cookie cutters to make the stamps).  This part needs an adult, a steady hand, and a good sharp paring knife:

Potato stamps, carved and ready to go.

There aren’t any action shots of the stamping, since this needed to be a very hands-on activity for me.  Basically, we dipped the potatoes in a paper plate with some paint on it to “ink” them:

Inked stamps - a little easier to see!

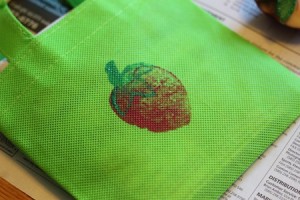
Then we stamped the bags.  (If you try this at home, be sure to put some folded up newspaper in there to keep the paint from soaking through to the other side of the bag!)  It was hard to line up the leaves with the tops of the strawberries, so they’re all a little…unique:

Stamped bag, phase 1.

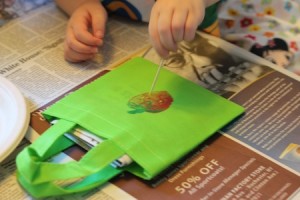
Finally, a toothpick dipped in yellow paint to add some seeds:

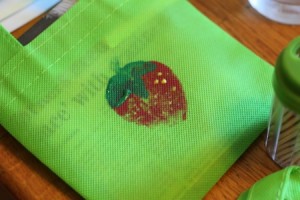
Lots of little yellow dots.
Stamped Bag, Phase 2.

And we now have a pile of inexpensive, homemade, (hopefully) reusable goody bags:

Oh, goody!

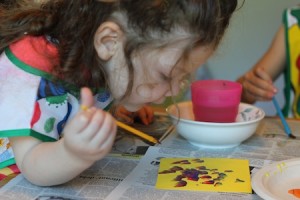
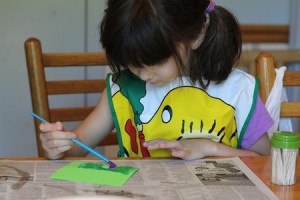
Of course, with the paints already out, the girls wanted to paint some more things.  So we added a number of other colors to the paper plate and broke out some paper and paint brushes.

Concentrating hard!
Little Artist

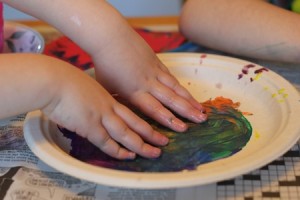
But the temptation of paint…oh, so tempting to squish little fingers in…

Little fingers in the paint...

Luckily, we had nothing else planned, so we could go straight from painting to the bathtub!

Messy little jazz hands.
Slightly bigger (and cleaner) painted jazz hands.

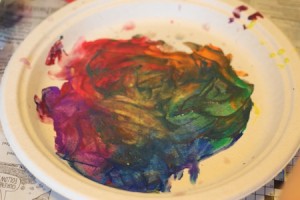
The plate itself is a little work of art, or at least evidence of a thoroughly messy and fun painting session!

Do they make paper plate-shaped frames?

Strawberry Playdough

I found a recipe for making homemade strawberry playdough (scroll down on that page) and decided to try it this morning.  I will never buy commercial playdough again – this smells better, is more malleable, and I know exactly what’s in it.  It would taste awful, but if some ended up in a little mouth it certainly wouldn’t hurt anyone!

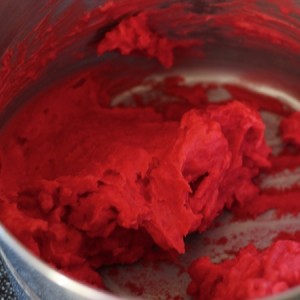
So, I had my doubts at this stage:

Playdough in a pan...?

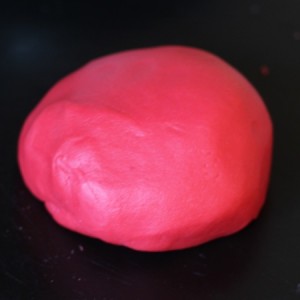
But then after a bit of kneading it looked like this:

Looking a bit more playdough-like!

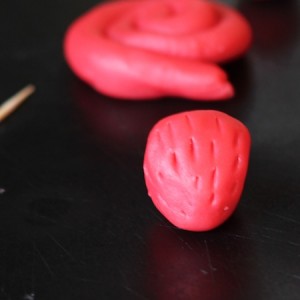
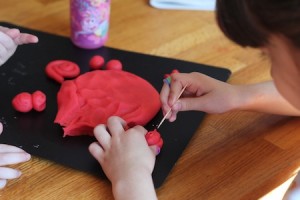
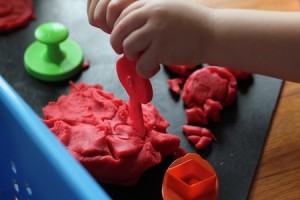
Add a toothpick for a tool, and here’s a strawberry made out of strawberry playdough:

Strawberry playdough strawberry. Hulled, of course.

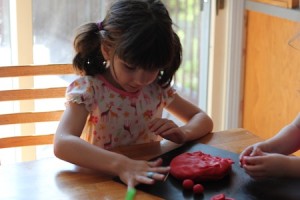
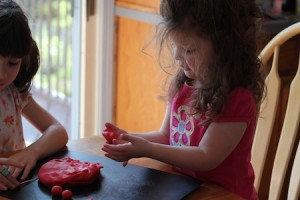
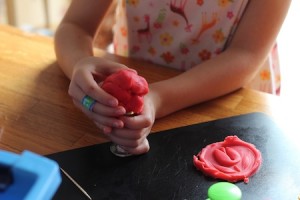
The kids have spent the past hour and a half playing with this stuff.  I think we have a winner!

Pokey little toothpick.
Smash!
Squishy!
Master sundae chef.
Shhh. Don't tell her she's working on her motor skills!
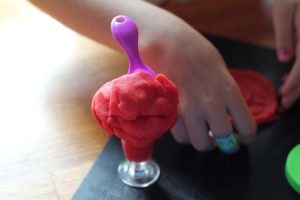
A delicious strawberry playdough sundae.

What I did *before* my summer vacation!

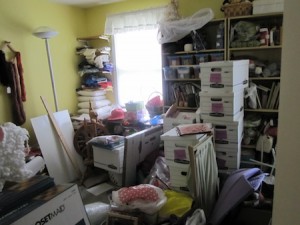
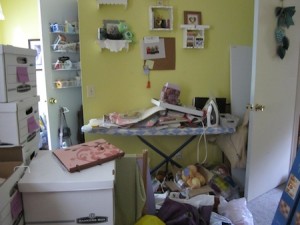
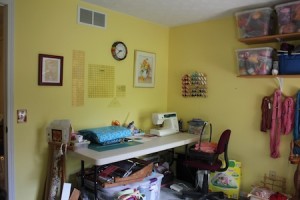
It all started seven years ago.  Seven years ago, we took a guest room and turned it into a nursery.  Lots of stuff from the guest room migrated into the craft room.  Sometime later, I sort of cleaned it up so it was partly usable.  Then three years ago, we took an office and turned it into another nursery.  Lots of stuff from the office migrated into the craft room.  With two small children and a small business, I’ve had no time to try to clean it up, though I have made a couple of half-hearted attempts over these past three years.

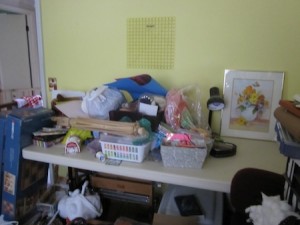
Last summer it looked like this:

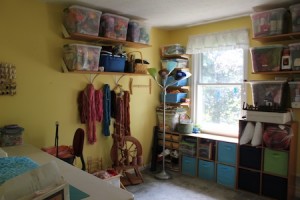
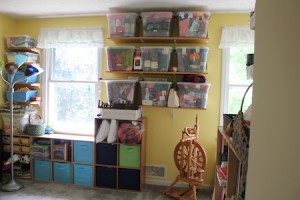
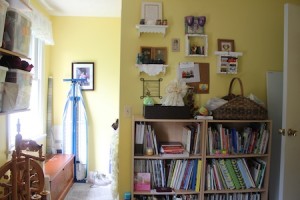
And really, it’s only gotten worse since then.  Much, much worse.  Two weeks ago I decided I was either going to have this room cleaned up before school let out, or I was going to rent a dumpster, park it outside the window, and throw it all out.

This is what it looks like today:

(We won’t talk about how much I’ve neglected the rest of the house in order to get this room clean.  That’s a project for this weekend!)

Baby Roses

Inspired by a bouquet of baby socks Lisa made for me for my baby shower before Carrie was born, I made washcloth roses for a friend’s “sprinkle” shower this morning. I used these instructions, except I didn’t have any silk flowers to behead and use as stems, so I used some takeout chopsticks and wrapped them with floral tape. I think they came out super cute, and I can’t wait to be invited to another baby shower so I can make them again!

20100511_baby_roses.jpg

Ravelympics

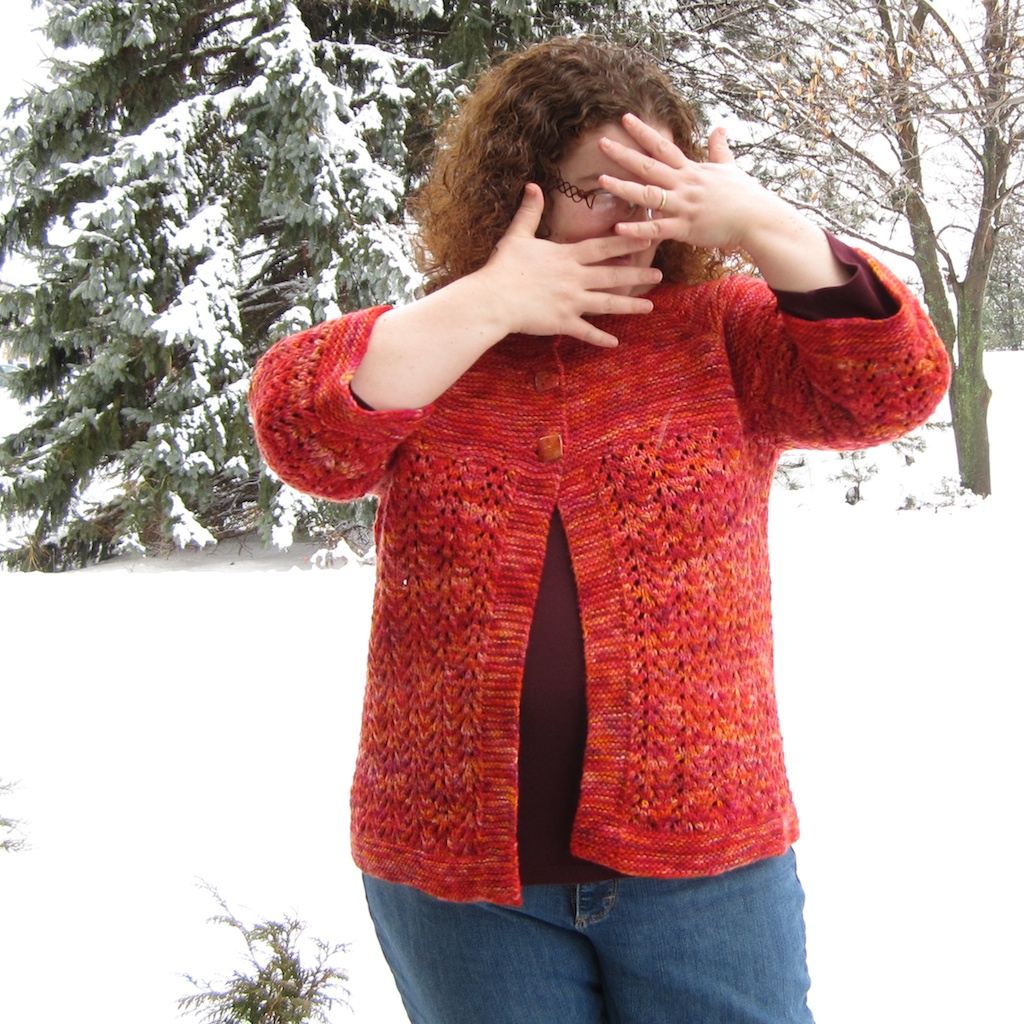
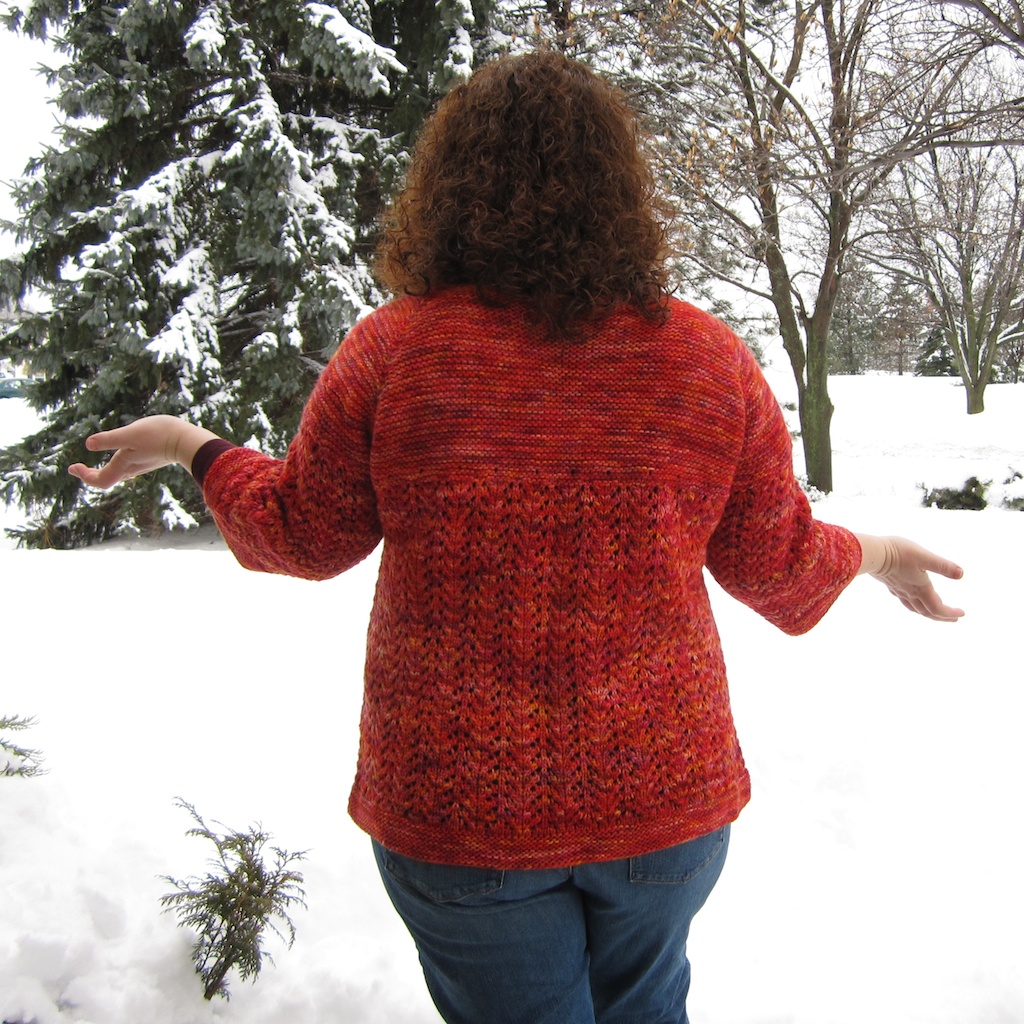
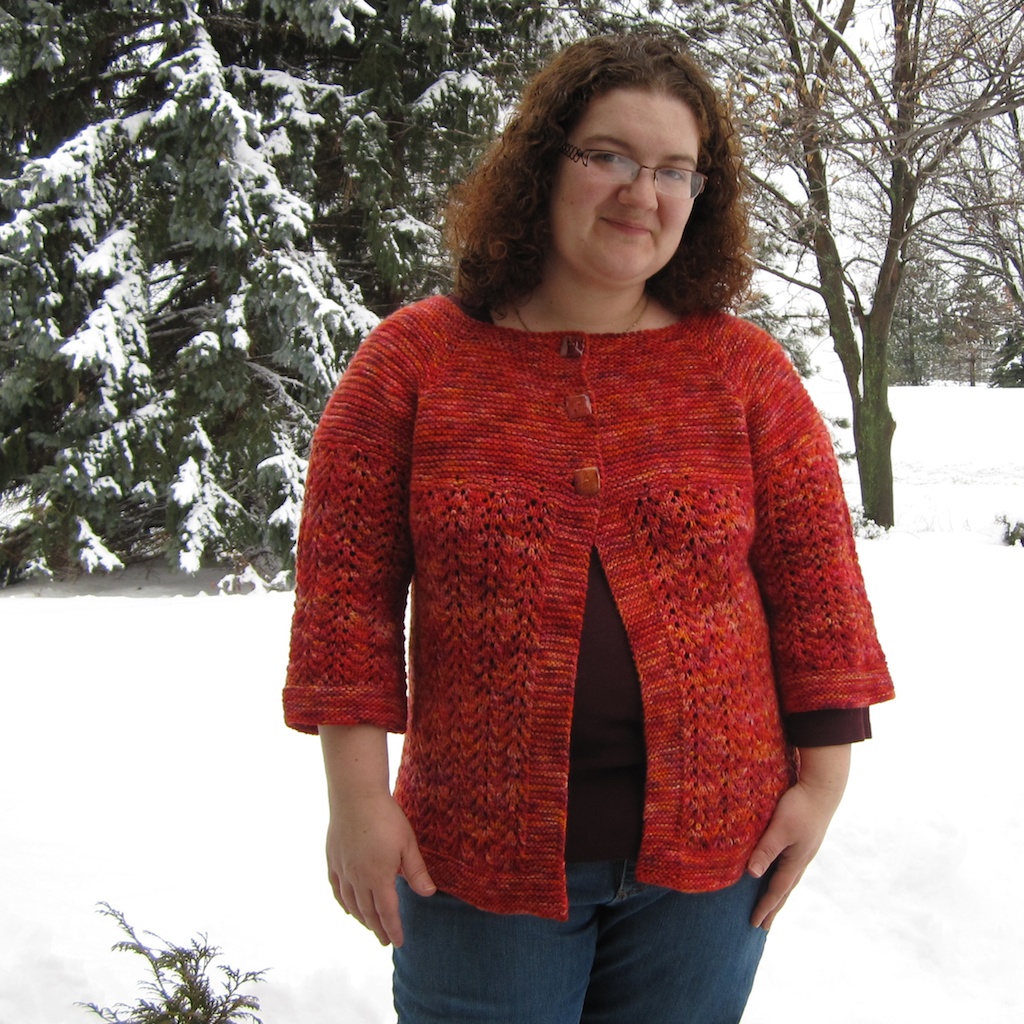
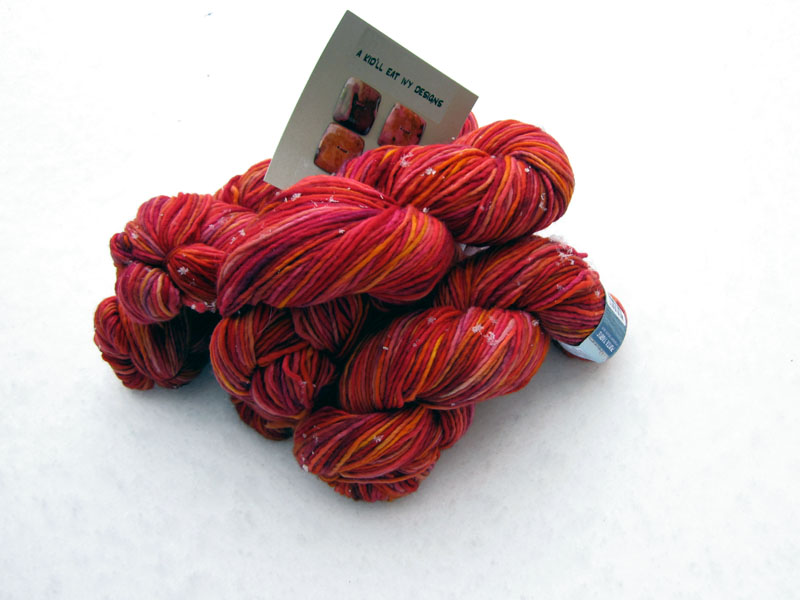
Hello there, I’m Bizzy Sheep…OK, not really, but I’m knitting an entire sweater during the Olympics as Bizzy Sheep (from our Dizzy Sheep daily deal website). I have to be crazy, but the yarn, the pattern, and even the buttons conspired to make me temporarily lose my mind and agree to do this. It’s the yarn fumes, I tell you.

fls_yarn.jpg

Baby Shower

My cousin Debbie is expecting her first child next month, so we went to her baby shower today.  I’m so excited for her!

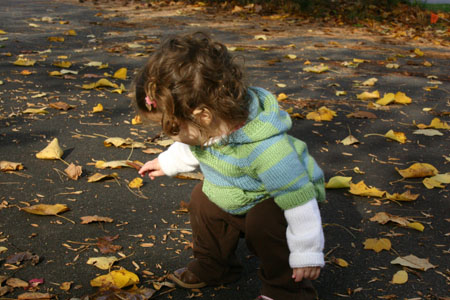
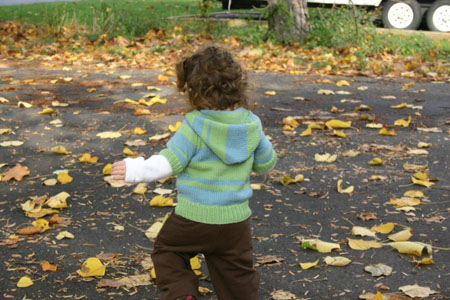
She decided not to find out whether the baby is a boy or a girl, so I knit her a cute little green, blue and white hoodie that will work for either.  Anna is fabulous at modeling these things for me:20091105_wallaby120091105_wallaby220091105_wallaby3

Fiber Loot

ffaf_loot

The fiber arts festival this year was great!  I bought some lovely goodies.  Top row: a small quilted tote for a small project, a car magnet and a sheep earflap hat kit from Bitsy Knits in purple, green and white.  Middle row: sock yarn that I couldn’t resist (also from Bitsy Knits), 4 oz. of 50/50 alpaca wool that Carrie was admiring, a shawl pin with sheep, spinning wheel and yarn basket charms, and a spinner’s control gauge.  Bottom row: three 4 oz. bumps of Spinning Bunny panda roving (wool/bamboo/nylon) and two little bunny ornaments from High Bid Farm.

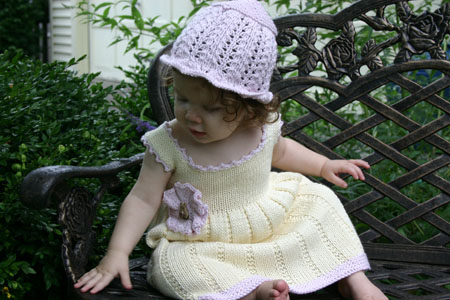
Baby Bunny Dress

I know my blog has drifted (far, far) away from any sort of creative content it might have ever had, and firmly planted itself in the realm of “mommy blog”.  But every now and then I make something that I have to share.  Like this:

20090717_indressandhat

This is a shop sample, and I only knit the very smallest size, which was listed as 6 months.  Aside from the armholes being a tad bit snug on her, though, it fit Anna nearly perfectly.  The yarn was so lovely to work with I was almost sorry to finish the project – it’s so soft and snuggly!
My Ravelry project page has details on the yarn and pattern.  If you’re not on Ravelry, you really should go check it out.  The invitations go out the same day or the next at this point, and it’s a fabulous resource even if you only knit or crochet a little bit!