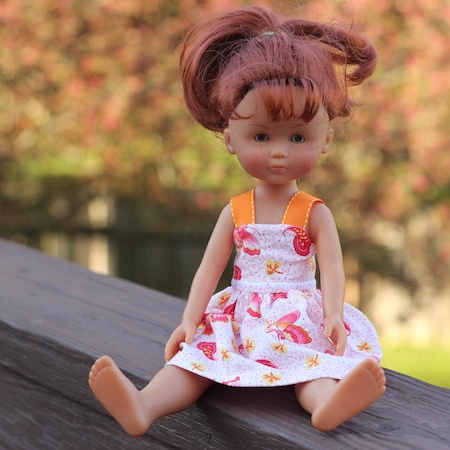
Our spring break turned into a mostly do-nothing week! Except I did sew some doll clothes:
I finished up Carolyn’s Mummy costume today! (Part 1, Part 2, Part 3.)

The hardest part of this entire costume was the mask. Luckily Carolyn had today off from school for teacher conferences – I needed her to model this pretty frequently. This time, instead of only sewing strips from the bottom up, I also sewed them from the neck, over the top of the head, and back down – like you would if you were wrapping your head with bandages. This was kind of tricky and I’m not 100% thrilled with how it came out, but I think overall it’s a reasonable facsimile of a mummy mask.

Finally, I had Carolyn try on the shirt so I could figure out the end of sleeves/hands part. I cut a slit between the cuff and shirt for her thumb to stick out, then wrapped strips around the cuff and hand-stitched them down. It takes up the excess sleeve material and acts almost like gloves – hopefully I won’t have a chilly mummy for Halloween!

This costume seemed so simple on the surface, but it’s all in the details: I let bits of strips hang down while I sewed them on, and shredded the ends so there weren’t finished selvedge edges of the fabric showing.

I also took a rather big tuck in the back of the pants – the downside of buying pants a couple of sizes to big is that they have a tendency to fall off as the mummy walks!
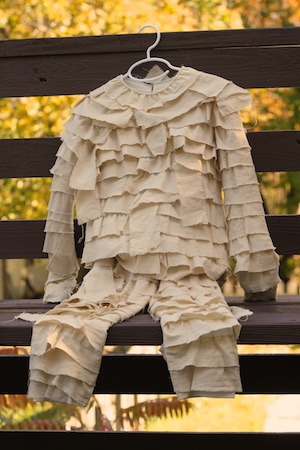
With all the details done, it’s time for a “beauty” shot. That’s one good-looking mummy costume! Total, I spent $26. I probably could have spent a little less on one of the awful store-bought costumes we saw, but this is much, much better. Carolyn is super happy with how it turned out, too!
I worked on the mummy mask today. This is turning out to be a longer project than I planned – the downside of being a bit of a perfectionist, I suppose! (Part 1, Part 2.)
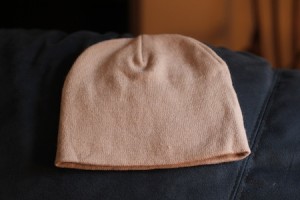
This is going to be a mummy mask when it grows up: a super cheap hat ($1) from Target! I had to go out and buy another yard of muslin and tea-dye it. (I know I don’t need a whole yard more just for the mask, but I’d rather have too much than have to go run back out to the quilt shop again. They already think I’m crazy there.)
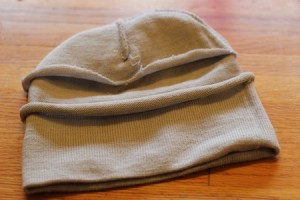
The hat was a double layer knit hat, so to make it longer I cut around the inside layer only near where they were sewn together at the crown decreases. This left a really messy edge that will roll and potentially run, but I intend to neaten that up when I’m finished.
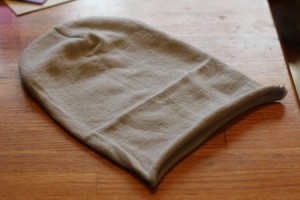
Next I cut out the area where Carolyn’s eyes and mouth will be. I purposely made those holes larger than necessary so she has good visibility and doesn’t suffocate!
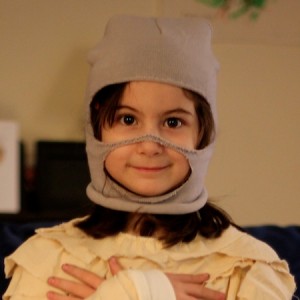
Finally I hand-stitched a thin strip across the nose piece (mostly because I was afraid it would unravel while I machine stitched it!) The rest will have to wait until tomorrow!
Continued from yesterday…
Not so many pictures today – it’s too dark and dreary out to get any decent photos – but I (mostly) finished the shirt. To do the sleeves, I had to pick out the seam with my trusty seam ripper. Then I sewed the strips on flat, starting near the cuffs. (I have plans to somehow make the cuffs come down over Carolyn’s hands since the sleeves are so long. I’ll figure that bit out later.) I cut a slit in the back neck because even before I started this project I could barely stretch the collar over her head. And then I sewed strips around the top of the chest and the shoulders, all the way up to the collar. Finally, I flipped the shirt inside out and sewed up the sleeve seams again. The shirt is now mostly done.
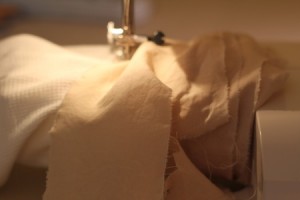
Now for the harder part. I thought I would do the pant legs the same as the sleeves, but I couldn’t get the seams open through all the many layers of stitching they must have done. Luckily, they *just* fit around the machine with the extension table bit taken off. Bonus: I didn’t have to stretch the fabric as I sewed since it was already stretched as much as it could go! However, this method only worked for the first few strips, after which there was too much material to push in between the needle and the rest of the machine. It worked out though, because by that point I was able to turn them around and work from the waistband side.
I didn’t put strips all the way up to the waistband. The shirt comes far enough that I figured I’d save some material and not cover the bits that don’t show! I have a mostly finished Mummy costume at this point. Just a few more details to work out in the next few days.
Carolyn wants to be a mummy for Halloween. However, we went looking for a mummy costume and were really disappointed in what we saw. They either looked goofy or, at one store we visited we were horrified to find an inappropriately “adult” mummy targeted towards 4-10 year old girls. Yes. A mummy with a bare midriff. Not. Happening.
DIY mummy it is, then. I drew some inspiration from this most amazing mummy costume tutorial, but I had already started by the time I found it so it’s probably not going to be nearly as awesome as that one is!
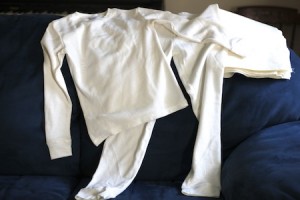
That’s a set of $10 long underwear (a size or two big to fit over street clothes) and 2 yards of muslin (really nice muslin bought at a quilt shop, so another $10 – a bit of a splurge). A sheet would have worked as well, but I don’t have any unused white sheets at the moment.
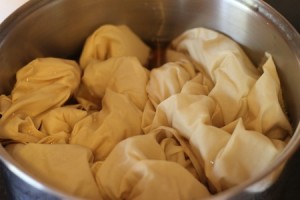
I used a dozen tea bags, some hot water, and my spaghetti pot to soak the muslin for a half hour or so. Can’t have things looking too new, obviously! Then I squeezed out the fabric, ran it under some water until it ran mostly clear, and dried it for a bit.
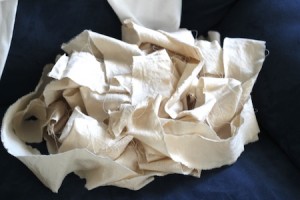
I cut little snips into the fabric all along the selvedge edge, a couple of inches apart. (I didn’t measure, just tried to make it look about bandage width.) And then the easy and very satisfying bit: riiiiiiip!
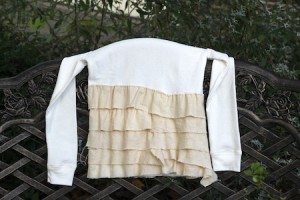
You could probably hot-glue the strips on, but I decided it would be faster to just set my sewing machine to a long-ish stitch length and stitch them on. The first strip I sewed on had to be picked off – I forgot to stretch the knit a bit so that it would have some give after the muslin was stitched on. But then I was merrily on my way. So far, so good!
Our last “Red, White & Blue week” activity had two purposes. The goal was to wind up with some homemade bean bags to use for an activity during Anna’s birthday party. But as long as I was opening up some bags of dried navy beans, I thought we’d try the “sensory box” idea I’ve spotted on various sites.
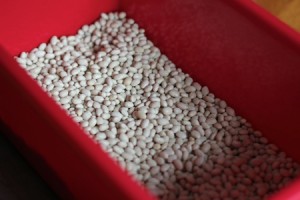
So, a box. (Or in this case, a toy bin that I emptied for the purpose. I’d consider getting a dedicated box with a lid for this if I do this activity again, but it turned out a little messier than planned and involved a few bickering sessions between the girls, so…I don’t know.) You fill it with beans, and then hide a bunch of little objects in there.
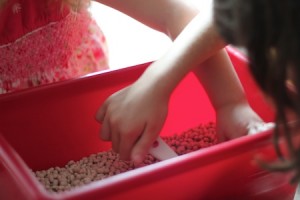
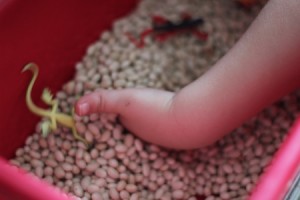
I put the filled box on top of a cookie sheet, handed them some measuring cups, and let them do their own thing. There was a lot of scooping, more spilling than I expected, a fair number of arguments over who could hold the little toys they found, and still a fair amount of time-consuming fun.
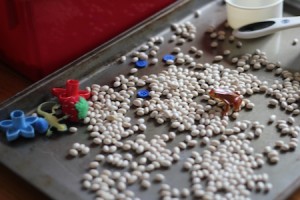
Then I got out the fabric. This bit was mostly me with kids observing, although Carolyn did help with the parts that didn’t involve sharp blades or sewing machines. I like to make double-layer bean bags, as follows:
For each bag, cut two 4″ squares of muslin. Place squares wrong sides together. Sew three sides with a 1/4″ seam. Fill with 1/3 – 1/2 cup of beans (depending on how firm you want the bags) and sew the final side.
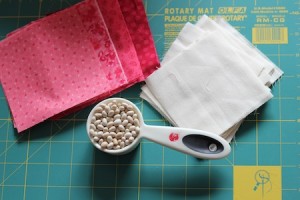
Cut two 4 1/2″ squares of the outer fabric. Place squares right sides together. Sew around with a 1/4″ seam, leaving the center 3″ on one side open for turning and stuffing. Turn right side out and poke corners out as best you can – clipping the corners diagonally will help with this. If you are not lazy, at this point, you could press the squares. I don’t.
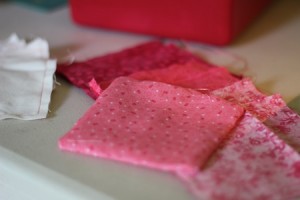
Stuff the inner square with the beans into the outer square. Fold the open edges in 1/4″, then top-stitch around the square about 1/8″ from the edge, being sure to close that open edge completely.
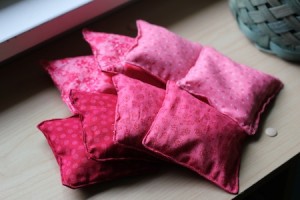
Commence juggling! Or bean bag tossing. Or whatever it is you can think to do with bean bags…as long as it doesn’t involve lobbing it at your sister’s head and causing her to scream with all the drama one would expect out of someone who had been hit with a brick instead of a bag of beans. Sigh.
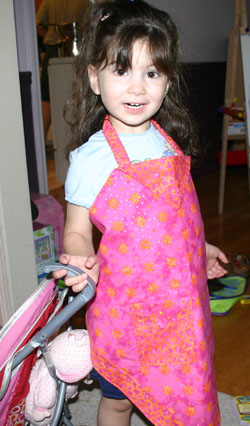 I found a great little pattern for a quick child’s apron, and thought it would make a good gift for Simone for her birthday. And I even finished it early! Carrie not-so-helpfully modeled it for me. (She couldn’t quite get why I didn’t want her to stand behind things. Sigh.)
Please ignore the fact that I also have (different) material to make one for Carrie but I haven’t even ironed the fabric yet, let alone started cutting out pieces… It’s on my to-do list, I swear, along with all the other things on my to-do list. I even feel guilty enough that when we stopped at the craft donation place to drop off all that yarn I mentioned a few days ago I bought a dog-fabric apron that someone else had made so that if it takes me a while (my to-do list is very long) she still has a special hand-made apron!