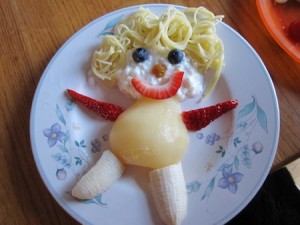
Kool-Aid Dyed Eggs

We’re not a kool-aid drinking family, but I’ve been collecting various flavors colors to use for homemade play-doh and (someday) yarn dyeing. And then I stumbled across an idea on Pinterest to use it to dye eggs!
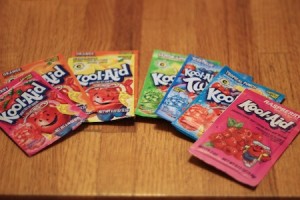
Just don't *drink* the Kool-Aid!

We mixed each packet with 2/3 cup of water.  I read somewhere that lemon didn’t really make a deep enough yellow, so we added a tiny bit of a packet of orange to the lemon.  I probably should have measured so we could duplicate it next year!
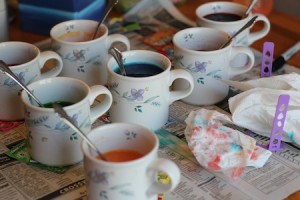
For as messy as this looks, clean-up was super easy!

We had some decent results – as good as or better than the egg dyeing kits – from most of the colors/flavors:
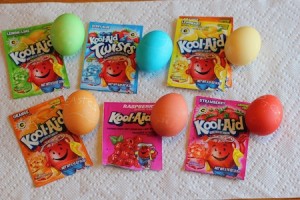
Pretty colored eggs!

But we couldn’t quite manage purple. When we mixed tropical punch and berry blue, we just got a weird speckly brown. It’s quite possibly the ugliest dyed egg ever, honestly.
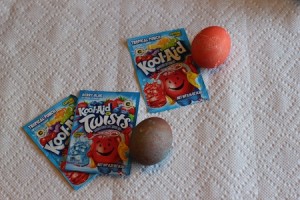
Reddish + blue = brown???

But other than the lack of purple, it was a pretty inexpensive and vibrant way to dye eggs, and I’d definitely do it again!

Also, I tried baking the eggs instead of boiling them, which worked out better than I expected.  325°F for 30 minutes, then an ice cold bath.  There were a couple of brown spots under the shells after peeling, but they peel very easily.  They also crack very easily when being transferred to the ice water.  But 14 of the 18 survived the process intact, and the rest were yummy.  :)
Smile Potato Bento

OK, so smile potatoes aren’t the healthiest food out there, but they really can’t help but make you smile…

Smile for the camera!

…especially when they make such cute leftover bentos!  Also, mini sandwich thins are about the best invention ever – the girls both adore mini foods.  If it has “mini” in the name they are far more likely to eat it.  Mini apples, mini pears, mini bagels…most of what I buy at the store lately is “mini”!

Also, my little bento sandwich person makes me think of the drawings on this parenting blog.  So very true, all of what she writes about!

The Return of the Bento

Carolyn was going to buy for her first day.  But when I mentioned that I would make her “back to school” bento the second day, then, she changed her mind.

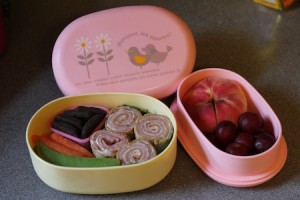
A back-to-school bento.

I’m out of practice, a bit, so I packed this one the night before.  (All but the cookies – I added those in first thing in the morning so they wouldn’t get soggy in the fridge.)  Her lunch time this year isn’t until 1PM, so nearly every bit of this was eaten, and for the first time since she started all day school she didn’t eat everything that wasn’t nailed down the second she walked in the door!

Applesauce & Applepaints

Today we had an apple tasting, made homemade applesauce, and painted…or tried to…with cut up apples.

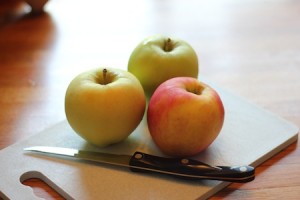
First, I dug the various varieties of apples out of our fridge:

Ginger gold, summer gold & pink lady

I’m not sure I’ve ever heard of summer gold, and based on how incredibly tart they were I suspect the man at the farmer’s market just picked ginger gold apples waaaay too early!  The girls definitely likd the pink lady apple the best, but also enjoyed the other two, despite the fact that they weren’t so sweet.

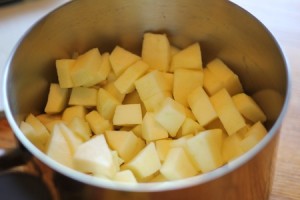
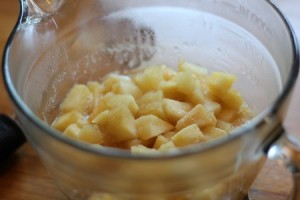
Chopped up apples in a pot.

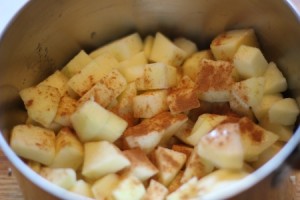
Then I peeled and chopped the apples while the girls snuck apple peels to munch on.  We added a couple more ginger gold apples and wound up with about 7 cups of chopped apples.  To this we added a tablespoon of sugar (since the apples were mostly tart), a few drops of lemon juice (to prevent it from browning so much), about 1/2 cup of water, and several shakes of cinnamon.

Is that enough cinnamon...?

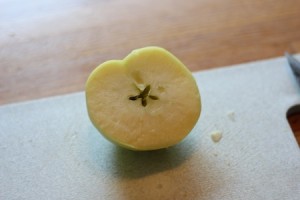
While that was cooking (for about 10 minutes?) we sliced an apple around it’s middle and found a star shape made by the seeds!

Look, a star!

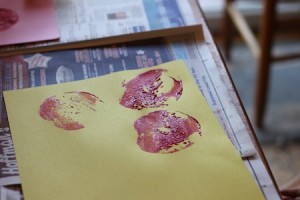
So I got out some paint and paper.  However, the apples didn’t really cooperate so much…they just made a paint-y mess.

Er...this worked better in my head.

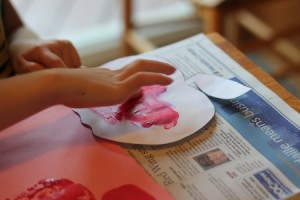
So then we resorted to finger painting (the templates from our stained glass apples).

Finger painting is more fun, anyway.
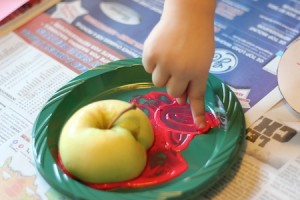
Squishy red paint.
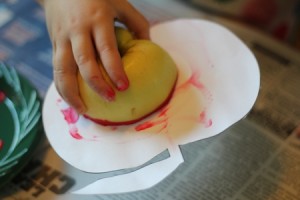
We could make apple prints on the apple templates!
Messy, messy jazz hands.
Wait, we're finger painting...not painting fingers!

Finally, the apples were cooked and mushy.  So, after lots and lots of hand-washing, we got out the potato-masher and smashed them…

This looks smashing!

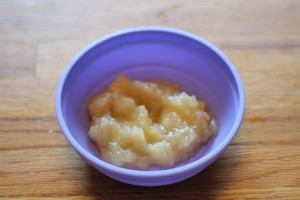
…and ate the resulting delicious applesauce warm.  Mmmm.

So very, very yummy!

Salad People

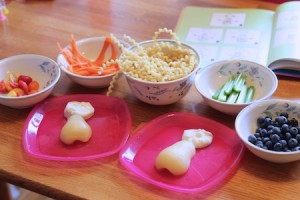
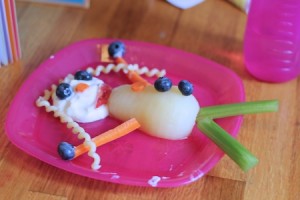
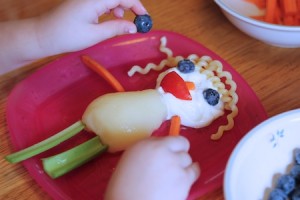
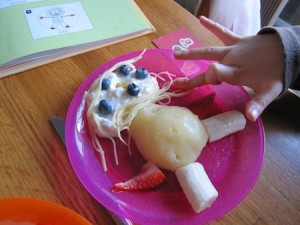
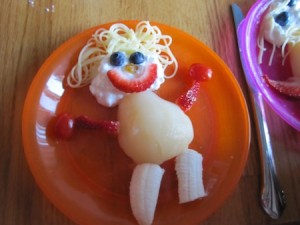
To wrap up our “What’s Cooking?” week, we made Salad People (the title recipe of our kids’ cookbook) for lunch today.

Salad People Ingredients
Carolyn's Salad Person
Anna's Salad Person

Is it bad that I pretended the “people” were saying “aaaaaaaahhhhhhh!” while I was cutting the pear bodies up so the kids could eat them…?

Sunrise Lemonade

After the girls had played enough with the dyed pasta, we made Sunrise Lemonade (from Salad People.)

Lemonade essentials!

It was a pretty simple recipe (I had to make “simple syrup” – just a mix of equal parts sugar and water – before we started) and the manual juicer I bought worked really well (though the kids needed some help for that step!)

Mmmm. Fresh-squeezed lemon juice.
Lemon juice, simple syrup & water being stirred.
Add the frozen juice concentrate...

The verdict?  Lots of thumbs up, and requests to make it again very soon!

Everything's better through long twisty straws!
Delicious!

Then for dinner tonight (we were on a roll) we made Sweet Potato Surprise (also from Salad People) and Lollipop Chicken.  (That recipe was from a Parenting magazine at the dentist’s office this afternoon.  I shamelessly begged them to make a copy for me.)  The surprising bit was that my children ate dinner.  It’s amazing how calling something “lollipop chicken” and serving it on a stick makes it so much more appealing!

Red, White & Blue Snacks

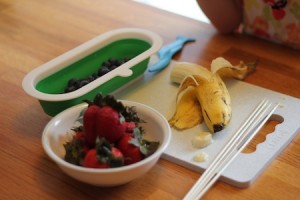
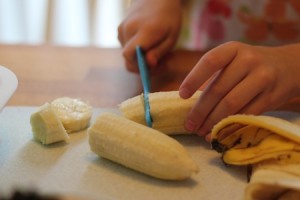
We’ve already done layered berry and yogurt parfaits this week, and I wanted to come up with another “themed” snack for today.  Red, white & blue skewers!

Assemble your ingredients...
Slice the bananas.
Cut up the strawberries.
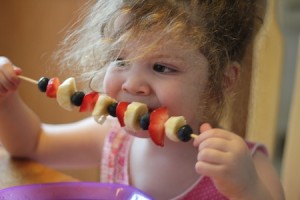
Stick the fruit on a stick (watch that pointy end) and enjoy!

This is a great “kids in the kitchen” snack – part craft, part eating!  (And even, if you ask them to follow a pattern skewering the types of fruit, somewhat educational in an early math sort of way.  Shhh.  Don’t tell.)

Not Quite Naked Pizza

I was very disappointed when the Naked Pizza place near us closed – most regular pizza gives me terrible heartburn, but this place had some secret crust recipe that somehow didn’t bother me, plus it was pretty Weight Watchers friendly.  But they closed, abruptly and without explanation.

So I’ve been on a quest, to make a homemade pizza crust that’s just as tasty, doesn’t use up all my points for the day, and doesn’t keep me up all night.

I think I finally got it right.  It’s not the same, but it’s really tasty, somewhat healthy-ish, and super easy.  I had a hard time finding yeast-free pizza dough recipes, so I thought I’d share.  The best bit is, if you have the various flours on hand already and keep a couple of small containers of plain yogurt in the fridge, you can have pizza on a weeknight in pretty much the same amount of time it would take to have one delivered.

Multi-Grain, Yeast-Free Pizza Dough:

1 cup all-purpose flour
1 cup whole wheat pastry flour
3 Tbsp. flax seed meal
3 Tbsp. oat flour
2 Tbsp. corn meal (+ extra for rolling)
2 Tbsp. wheat germ
2 Tbsp. spelt flour
1/2 tsp. sugar
1/2 tsp. salt
1/2 tsp. pizza seasoning blend
2 tsp. baking powder
12 oz. plain low-fat yogurt
2 Tbsp. olive oil

Preheat oven to 400°F.
(If you're baking on a stone, put it in the oven to preheat.)
1. Combine all dry ingredients in a large bowl.  Mix well.
2. In a separate bowl, mix together the yogurt and oil.
3. Add yogurt and oil mixture to the dry ingredients;
   mix until a soft dough forms.
4. Turn out onto a floured board and knead dough for
   1-2 minutes.  If necessary, add a little flour.
5. Dust board with a little more flour and some cornmeal.
   Roll dough into a circle.  This will make a large pizza.
   Our stone is not that big!  So, I use about 1/3 of the
   dough to make an 8-ish inch pizza for the kids, then the
   remaining 2/3 to make a 12-ish inch pizza for the adults.
6. Top with desired sauce and toppings, and bake for
   12-18 minutes (depending on how thin you rolled it)
   until the crust is slightly brown around the edges
   and the cheese is melted.

This is a hit with both of my oddly picky eaters, who, for whatever reason, will not eat “normal” pizza.  I must have the only two children on the planet who will not eat cheese pizza at a party.

My Mad (but rusty) Bento Skillz

It’s the last week of school, which means “Cook’s Choice” for the whole week on the lunch menu.  “Cook’s Choice” (aka whatever’s left in the bottom of the fridge) is not a friendly sounding thing to a somewhat picky eater, so Carolyn has been bringing her lunch all week.

This morning at 8:05 (the bus comes at 8:27) I got out all the sandwich makings and said “Sunbutter and honey, right?” and got a face.  I tried again, “Ham?” and got another face.  So I said, “All right, what do you want for lunch??”  “Can I have a lunch without a sandwich?”  “What do you mean, a lunch without a sandwich?”  “Like you used to make, with lots of different things but no sandwich, remember?”  Errr…it’s 8:09 AM, the bus comes in 18 minutes, and you want me to make a bento?!?  After not wanting a bento lunch since last October…?  Oh, sure, why not?

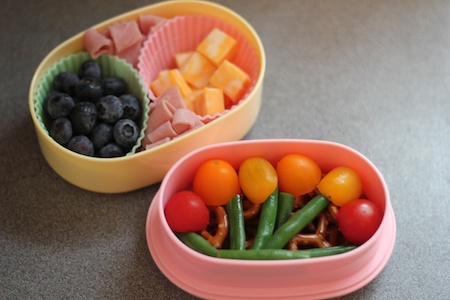
A tomato flower bento

Not bad, considering how out-of-practice I am and how very little time I had to stand in front of the fridge and figure out what on earth could go in a bento and form a complete-ish meal!

Salad People

We’ve had this cookbook for a while, and used it a few times, but never to make the title recipe.

Today we made Salad People for dinner.

Carrie couldn’t decide between making a person, robot or alien, so it’s a combination of all three. And I’ve discovered that the kids don’t even like cottage cheese when it’s in fun people form. The rest was a hit, though!