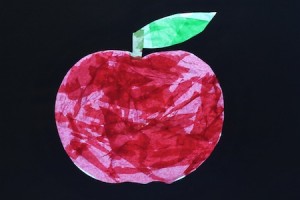
Applesauce & Applepaints

Today we had an apple tasting, made homemade applesauce, and painted…or tried to…with cut up apples.

First, I dug the various varieties of apples out of our fridge:
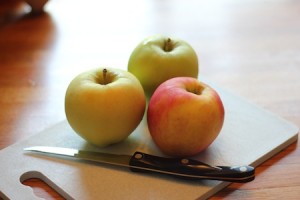
Ginger gold, summer gold & pink lady

I’m not sure I’ve ever heard of summer gold, and based on how incredibly tart they were I suspect the man at the farmer’s market just picked ginger gold apples waaaay too early!  The girls definitely likd the pink lady apple the best, but also enjoyed the other two, despite the fact that they weren’t so sweet.
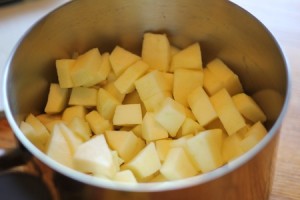
Chopped up apples in a pot.

Then I peeled and chopped the apples while the girls snuck apple peels to munch on.  We added a couple more ginger gold apples and wound up with about 7 cups of chopped apples.  To this we added a tablespoon of sugar (since the apples were mostly tart), a few drops of lemon juice (to prevent it from browning so much), about 1/2 cup of water, and several shakes of cinnamon.
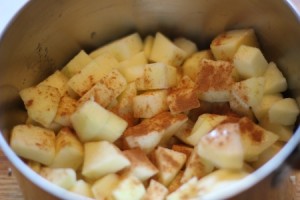
Is that enough cinnamon...?

While that was cooking (for about 10 minutes?) we sliced an apple around it’s middle and found a star shape made by the seeds!
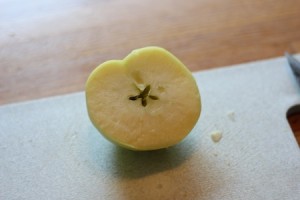
Look, a star!

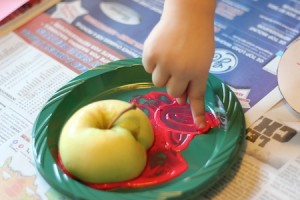
So I got out some paint and paper.  However, the apples didn’t really cooperate so much…they just made a paint-y mess.
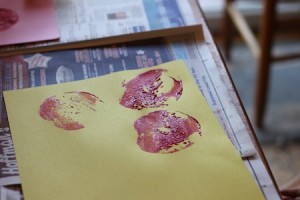
Er...this worked better in my head.

So then we resorted to finger painting (the templates from our stained glass apples).
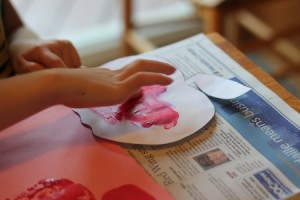
Finger painting is more fun, anyway.
Squishy red paint.
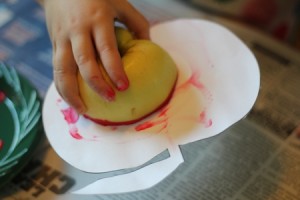
We could make apple prints on the apple templates!
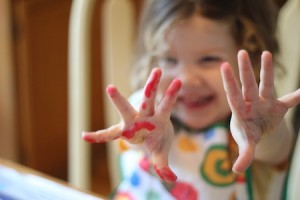
Messy, messy jazz hands.
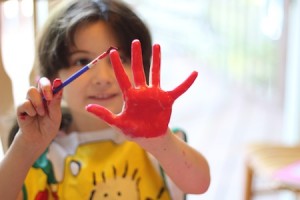
Wait, we're finger painting...not painting fingers!

Finally, the apples were cooked and mushy.  So, after lots and lots of hand-washing, we got out the potato-masher and smashed them…
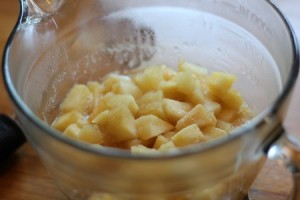
This looks smashing!

…and ate the resulting delicious applesauce warm.  Mmmm.
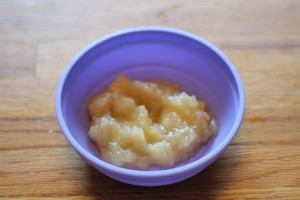
So very, very yummy!

Curly Apple Trees

It’s September 1st!  How did that happen?!?  Just a few short days until school starts, and I’ll have to decide whether to continue doing themed projects during the school year – I have two enthusiastic votes for “yes”, but I’m not sure, realistically, how much time we’ll have once the big girl is in school all day…

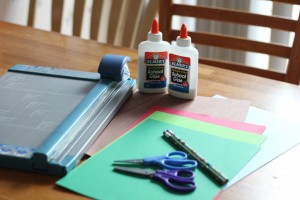
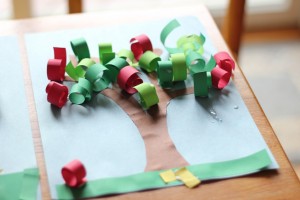
Papers, glues and sharp cutting things.

Today’s project was inspired by a couple of different ideas I found on the internet…which I didn’t bookmark.  :(

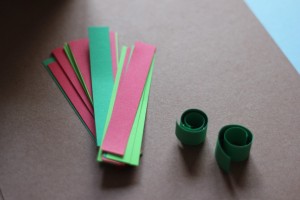
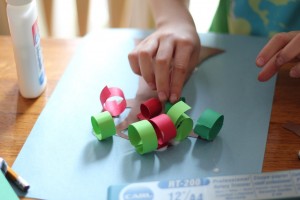
Paper strips and paper curls.

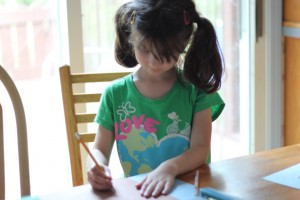
First, I cut strips of red and green cardstock, about 1/2″ x 4 1/4″.  Then we curled those strips around a pencil to create little curls of paper.  (Carolyn was very good at this part, Anna was more interested in uncurling the curls.)

Future tree trunk growing here.
She drew a very detailed trunk, with intertwining branches!
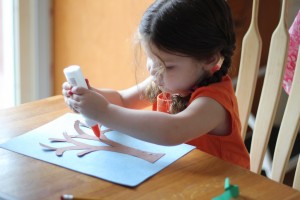
Gluing the trunk.

Then we drew tree trunks on brown construction paper – Carolyn drew her own and I drew one for Anna – then cut them out and glued them onto a light blue background.

Anna liked this bit a lot!
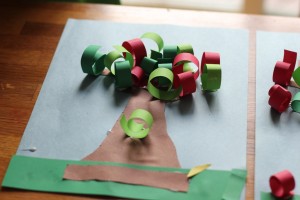
A cluster of leaves and apples.

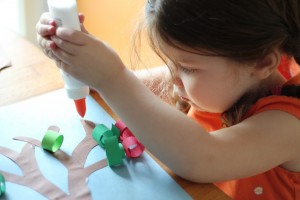
Finally, we glued the curls of paper onto the trees to make leaves and apples.  I think the original project ideas I found had you gluing the edges to the paper, but both girls preferred the look of the curls glued on their sides.

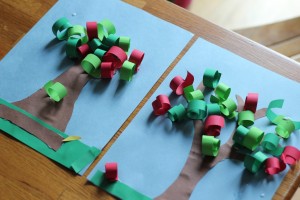
Anna's curly apple tree.

Of course, this way they don’t stay especially well-curled, but they’re cute anyway!

Carolyn's curly apple tree.

We glued some green strips to the bottom of the paper for grass, and I have no idea where they were going with the little yellow bits they cut out…?

A (small) curly apple orchard!

Apple Cinnamon Ornaments

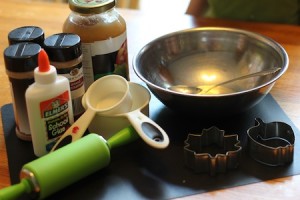
I found a slightly-expired jar of applesauce while I was cleaning out my pantry last weekend.  And then I found a recipe for Apple Cinnamon Dough (scroll down on that page).

If you don't count the glue, this could be delicious!

The kids had fun helping me measure and mix – there was a cloud of cinnamon floating about our heads the entire time.  The kitchen might never smell normal again!

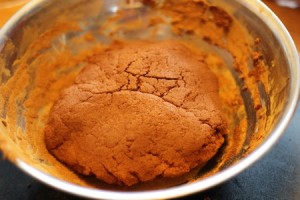
Thick apple cinnamon dough.

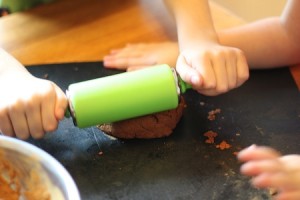
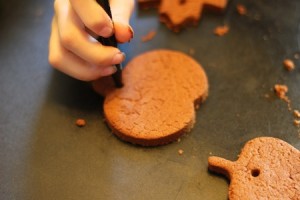
We rolled it out and cut it with apple cookie cutters…and other fall shapes.

Roll it...
...and cut it...
...and poke it with a pencil...

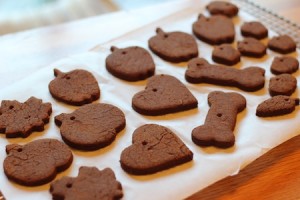
The instructions said to leave them someplace to dry for days.  We’re not that patient, so I set the oven to 200F and put the ornaments on parchment paper-lined cookie sheets.  After 10 minutes, I flipped them over and baked them for another 10 minutes.

Oodles of ornaments!

They aren’t quite completely dried out, but they’re pretty close!  And they smell wonderful.  We might paint or otherwise decorate these later this week, but with a pretty ribbon strung through the holes they’d also be lovely and sweet smelling just as they are.

Stained “Glass” Apples

This week, in order to get us in the back-to-school spirit for next week, the theme is “apples”!

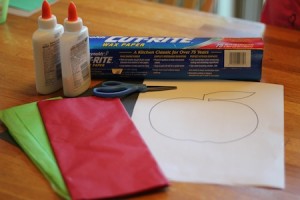
There are lots of fun projects to do with actual real edible apples, but it was too windy to go apple picking yesterday (we were worried we might wind up with apples falling on our heads, and we already know about gravity, thank you very much.)  So, since the current apple population in the house is rather dismal, we did a paper-y craft project instead today.  (We used the template, and loosely followed some of the directions, from this site.)

tissue paper + glue + wax paper = stained glass?

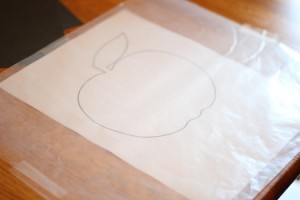
First we taped our template to the back of a piece of wax paper, then taped that down to the table.

Work surface ready to go!

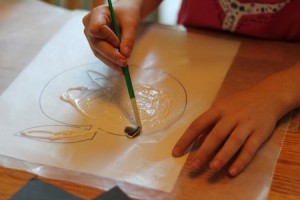
I had the girls squirt glue all around the inside of the apple shape, then brush the glue around to fill it all in, going over the edges a bit.

Painting. With glue. Love it!

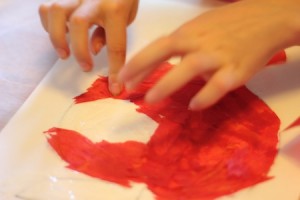
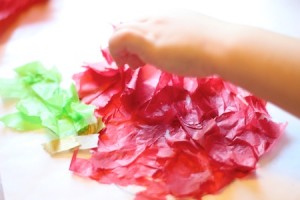
Then they tore up bits of red tissue paper and pressed them into the glue all around the apple.  A few pieces of green for the leaf, and a bit of gold for the stem completed the tissue paper piecing.

Carolyn carefully placed each piece of tissue...
...while Anna went with the quick method!

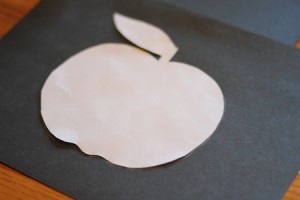
When they were finished with the tissue paper, I cut out the apple from the template paper, and traced it – right side facing down – on a couple of pieces of black construction paper.

Unless you want your pencil marks to show, flip it over!

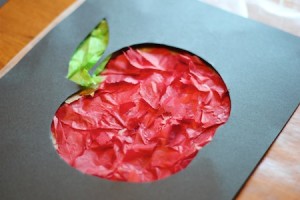
The girls had wandered off to play by this point, so I finished cutting the traced apple out of the middle of the paper, then called them back to glue the frames on their apples.

A frame about to be glued on.

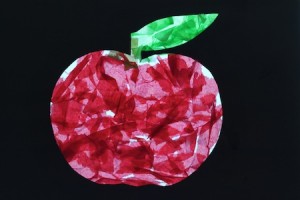
They look really pretty taped to a window!

Anna's finished apple.
Carolyn's finished apple.