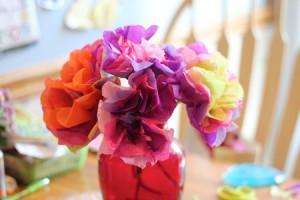
Today’s project is a good example of why you need to flexible when planning kids’ crafts. The plan was tissue paper flowers:
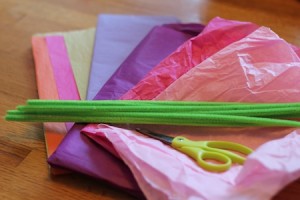
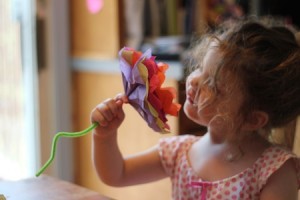
I thought they would be pretty easy, and sort of an instant-gratification thing. But they were completely beyond Anna’s abilities, and Carolyn didn’t like how hers turned out compared the ones I made to demonstrate what we were doing.
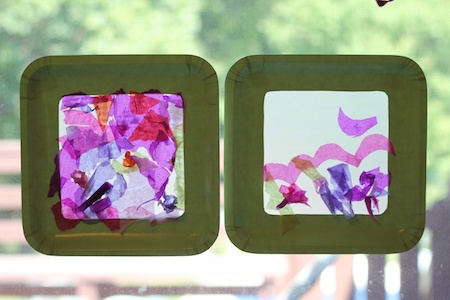
So, now I had a bunch of cut-up tissue paper, frustrated kids, and some time to fill. Luckily, I also had green paper plates left from Anna’s birthday party, wax paper, and tape. Oh, and glue! I cut out the middle of paper plates, cut a square of wax paper, taped it to the back of the plates, and let them glue tissue paper all over the wax paper.
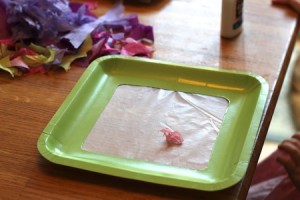
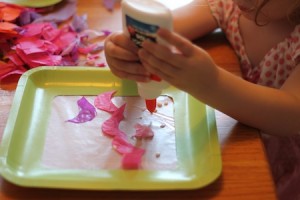
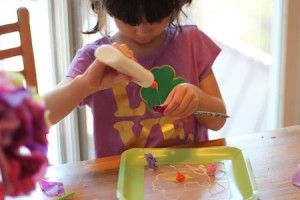
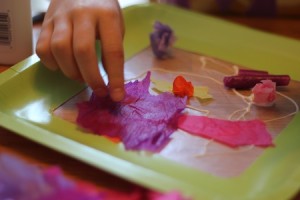
And now we have pretty tissue paper flower suncatchers!
