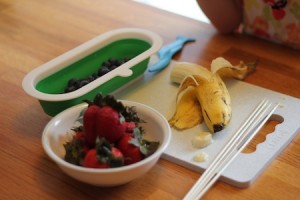
So. “On the Farm”. I really didn’t have great ideas for this theme, but a bit of googling got me some fun things to try. Butter making, for one:

We took turns passing around the container and shaking it:


For quite some time it just looked like frothy milk:
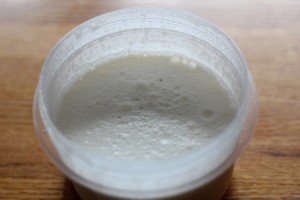
About 12 minutes in, though, it started getting thick and creamy:
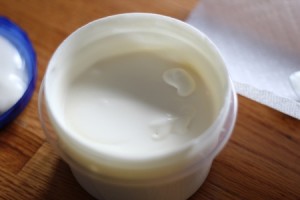
At 15 minutes, it resembled whipped cream:
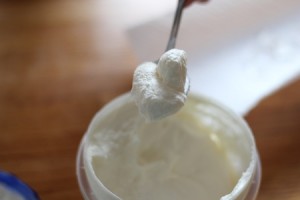
At 18 minutes, it started looking a bit curdled:
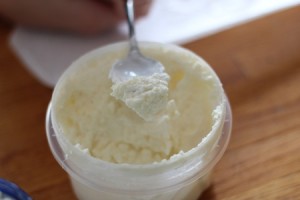
And at 20 minutes, we had buttermilk separating from the butter:
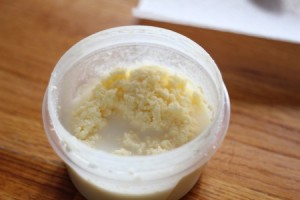
We poured off the buttermilk and mixed a tiny bit of salt into the butter.
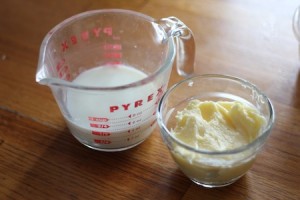
And then. Then we had buttermilk. And butter that needed a home. So we added flour, baking powder, an egg and some salt…and some commercial butter, because we didn’t want to use up all of our freshly shaken butter:
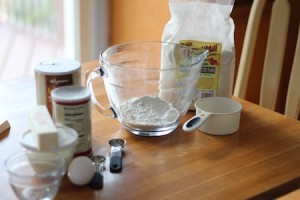
We rolled the dough out and cut some circles:


And had a delicious mid-afternoon snack!
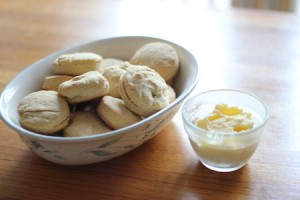
This was lots of fun, and while buying butter is certainly easier, it’s pretty neat to know exactly what’s in your homemade butter – plus everyone got a good arm workout taking turns shaking the container. The one thing I’d recommend, though, is a different container. The package of these Ziplock twist-on lid containers said “leak resistant” but they are most certainly not leak-proof. Once we got to the part where the buttermilk started separating, since it’s a thin liquid, it leaked out the sides. I’m not sure what kind of container would work better. Maybe a canning jar?

